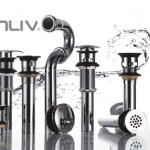
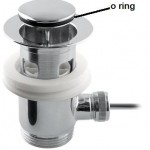
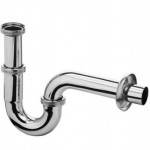
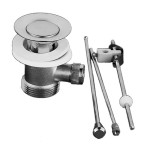
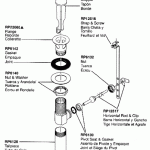
Bathroom Sink Trap and Pop Up Drain Waste Installation is not a simple job for everyone to do DIY at their own home. All information and images provided are for guidance only, please obtain full manufacturer technical manuals before proceeding with any installation and/or repair. If you feel you cannot manage with plumbing your bathroom, please call a professional recommended plumber to do the job correctly for you.
Most Common Mistakes
- Violating or ignoring code restrictions,
- Not installing D/W/V with at least a 1/4″ slope per one foot pipe,
- Not properly venting or trapping all fixtures,
- Attaching too many fixtures to a drain or vent pipe,
- Using pipes that are too small,
- Not providing enough cleanouts or not providing cleanouts at the prescribed places,
- Venting the fixture too far from the fixture’s trap,
- Not properly aligning tubing into fittings or stop valves. (Forcing the nut onto the compression ring at an angle when the tubing is at an angle will cause a leak.)
- Using a fitting in a wrong position,
- Installing rough plumbing in the wrong location,
- Reducing pipe size as the pipes run downstream,
- Cutting pipe too long and not allowing for the ridge in the fittings, and
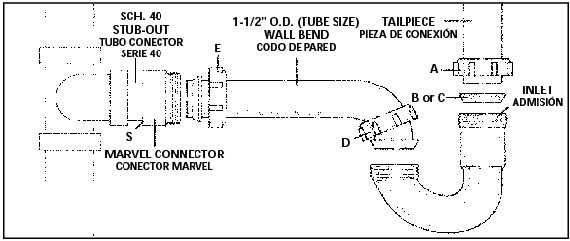
- Forcing the trap and waste arm fittings out of alignment and putting too much stress on the nuts and washers in the tubing.
- Make certain the compression tubing is put in the fittings so that it is evenly tightened
Installing Drain Waste Vent Pipe
Running the pipe can be tricky. All different kinds of fittings are available to turn in different and receive different sizes of pipe at various angles. One fitting may need 3 opening ports, all accommodating a size pipe. You will have to plan your runs and buy the necessary fittings (always get a few extra).
Buy the very best shower baths for your bathrooms.
Keep in mind that codes may regulate how fittings can be used* (i.e. sanitary tees may not be used in a vertical to horizontal connections long sweep connection must be used here). You will need to know the diameter of your pipes, their angles, the code and their direction to determine each fitting.
While planning may take some time and study, the cutting and assembly of plastic pipe is very simple.
1. Using a back saw or a fine toothed saw, cut the pipe the required length, remembering that the pipe fits into the fitting a prescribed distance for each diameter of pipe.
2. Use a small knife or rough sandpaper to remove the “burr” off the freshly cut pipe.
3. With a rag and some cleaning solvent, clean the ends of the pipe and the inside of fitting where the pipe will join. (ABS does not need this solvent or primer. It can be wiped clean with a damp rag.)
4. The glue will dry almost immediately and you can never get it unglued. To change the connection you must cut out the fitting and start over. Because of this, you want to be sure you have it right the first time. This is very easy in some cases, but often you will have a number of pipes coming into a fitting from several different angles. All of these must meet correctly once they are permanently glued. To assure this, “dry fit” the fittings and pipe by cutting and assembling everything without glue to assure it all fits at the correct angles and dimensions.
5. Make marks across fittings and pipe so that once the pipes are removed and the glue is spread, you will know exactly how to realign everything when the pipes are inserted permanently into the fitting. (Be sure the marks or lines are long enough on the pipe so that they will not be covered by the glue you will spread on the pipe.)
6. Spread a generous amount of the required pipe glue around the end of the pipe and on the inside of the fitting with a dobber.
7. Insert the pipe into the fitting until it “bottoms out” and give it a little twist to be sure that the glue is spread evenly.
One of the most difficult parts about running drain waste vent pipes is drilling the large (2-3″) holes necessary to run the pipe. You will need to purchase, borrow or rent special heavy duty plumbers’ bits that are notched to fit 1 1/2″, 2″ and 2 1/2″ pipe. The cheaper hole saw is just too difficult when you are doing a large project. You will also need a heavy duty 1/2″ or 3/4″ drill (preferably a right angle drill or one with a right angle attachment). Be careful, as drilling with these large bits often causes the bit to bind and the drill to spin.

