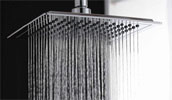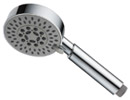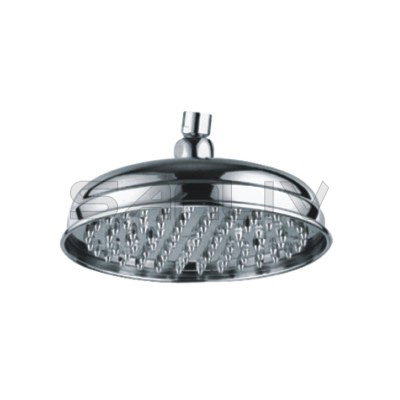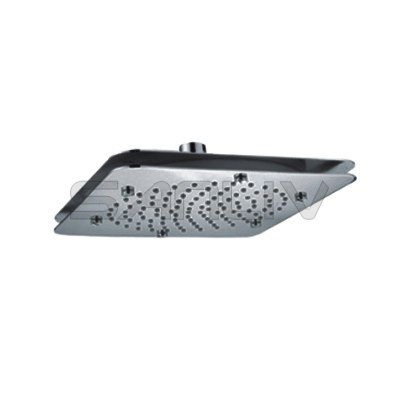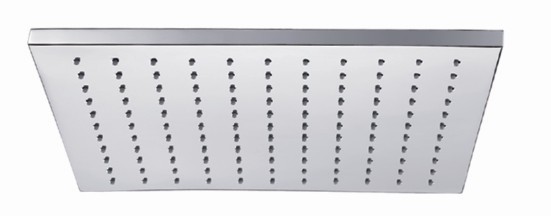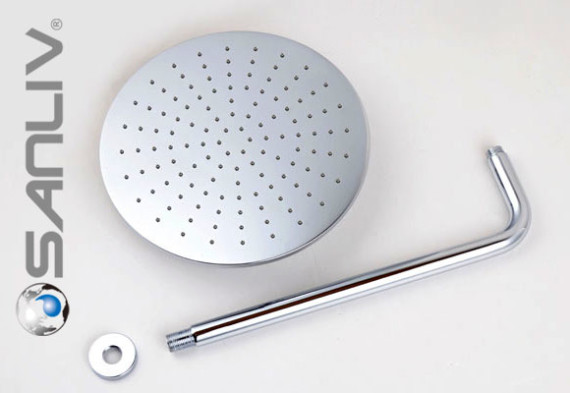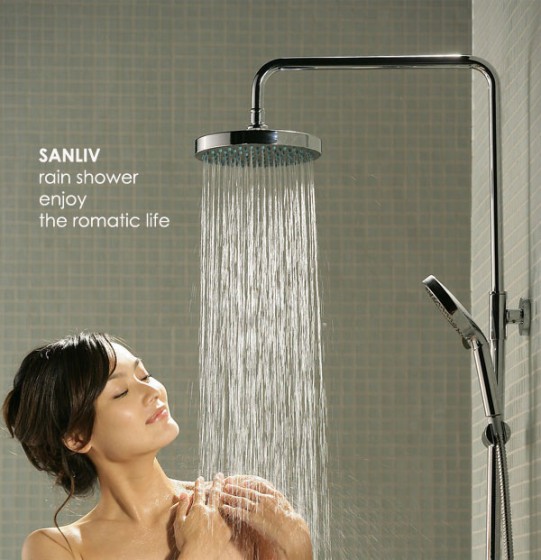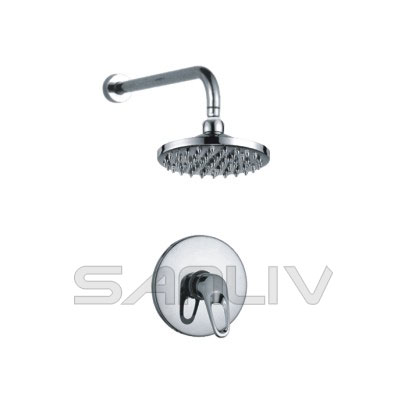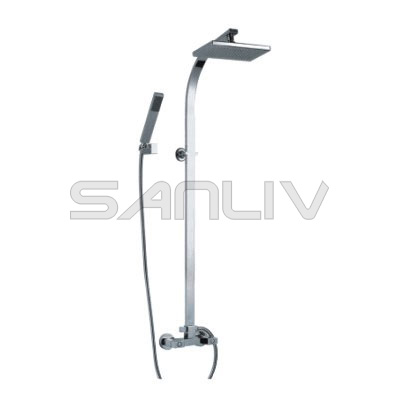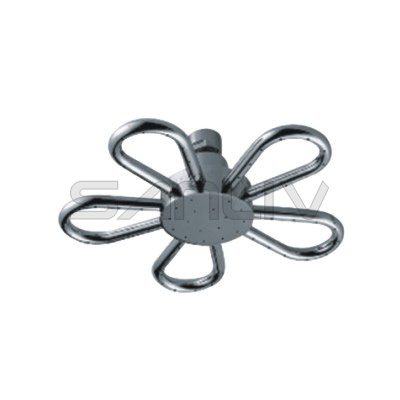
Rain shower heads can wash your entire body with a “rainfall effect” from above, as opposed to the more vertical water stream of older models (like the one I currently have). If you’ve ever been to a day spa for a treatment and were escorted to a shower afterward, that’s what a rain shower head looks and feels like. Simply glorious!
Many homes have showers with wall water outlets at a height designed for typical shower heads spraying at an angle out from the wall. Large rain shower heads, however, are optimally installed in a higher and more vertical position, so a shower arm that provides some additional mounting height may be beneficial.
Generally speaking, rain shower heads 7″ or smaller work well in either overhead or angled positions and can be mounted on existing (standard) shower arms if desired. Shower heads from 8″ – 9″ also work well in either overhead or angled installations but are not recommended for installation on typical existing shower arms. Shower heads 10″ or larger are optimal in overhead applications. For angled installations, we recommend the Opus shower arm. For overhead applications, we recommend the Deluxe Arch, the Deluxe Riser and ceiling mount shower arms.
Tip 1: Resist the temptation to choose a shower arm based on only appearance before you determine the height you’ll need. It’s a common mistake to choose a shower arm and shower head based only on looks and end up with a shower head at chest height. Oops! On our shower arms page we indicate the Head Height Change for each of our shower arms.
Remember that typical existing shower arms droop and lower the shower head relative to the wall outlet. This gives them a head height change of -2″ to -3″. This means that switching from a typical shower arm to a shower arm that provides height will actually provide an increase in shower head height of 2″ to 3″ more than the head height change of the new shower arm. For example, our Opus shower arm provides +2″ of head height change, but if this arm is replacing a typical home shower arm with a head height change of -2″, then the Opus will provide a mounting position 4″ higher than before.
Tip 2: Be sure your shower area will allow for the installation of the shower arm you purchase. Since shower arms mount by screwing into the wall like a corkscrew, a certain amount of clearance will be required depending on the shower arm model chosen. For example, our Deluxe Riser models require 11 1/2″ of clearance. This means that this arm requires an unobstructed 11 1/2″ radius around the wall outlet to install. So if your ceiling is only 8″ above the hole in the wall, then this shower arm will not work for you. Also note that other obstacles can present a problem, such as built-in soap holders, grab bars, etc.
Tip 3: Don’t expect very large shower heads to provide the same pressure as smaller shower heads. The larger the shower head, the lower the pressure will be. This generally isn’t a problem unless a large shower head like the 10″ Classic is purchased to be installed on an existing standard shower arm, with the intention of using the shower head at an angle instead of overhead and still expecting the same pressure as a regular wall-mount shower head. Technically the problem isn’t the size of the shower head but rather the number of nozzles it has, which divide the available pressure between them, but of course the larger shower heads typically have more nozzles. learn more about size vs. pressure
If you desire the look of a large shower head with the best possible pressure, be sure to choose a shower head with that provides machined nozzles instead of just “holes” for the water to come out. The larger the shower head, the more critical it is that the nozzles are the best available to ensure good pressure. learn more about machined nozzles
Tip 4: When installing a shower arm, always install the shower arm without the shower head attached. Similarly, when installing deluxe shower arms with a female fitting on the wall side (which require the installation of a separate brass nipple) always install the brass nipple into the wall first , then attach the shower arm to the nipple, and then attach the shower head to the shower arm. Always work from the wall out, installing each piece individually.

