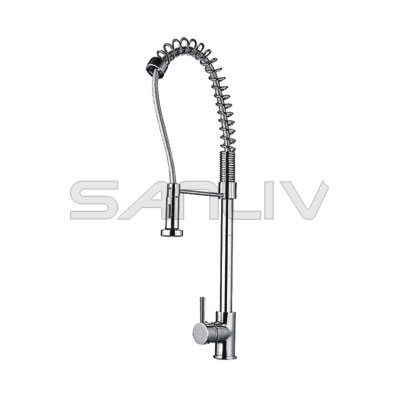
How to Install A Pull-Down Kitchen Faucet? Pull-Down Spray Kitchen Sink Faucet Installation and Repair Tips from Professional plumbers. Seven easy steps to install or repair a Pull-out Spray Kitchen Faucet.
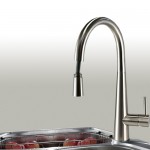
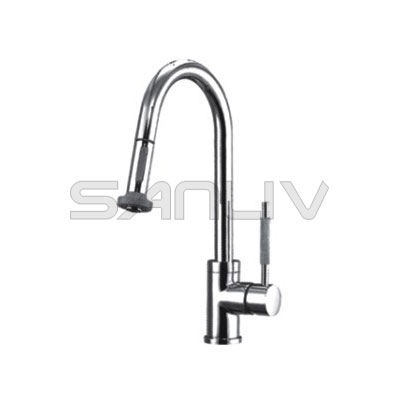
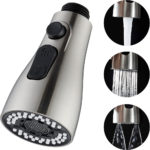
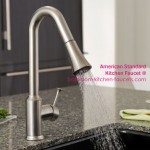
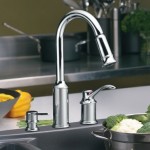
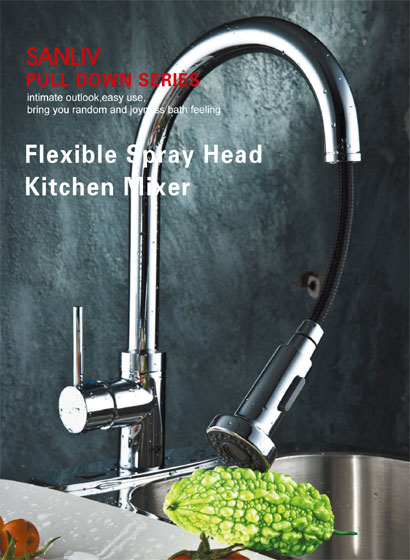
To add some functional elegance to a kitchen you may want to install a pull down kitchen faucet. This type of faucet is a single lever action faucet where you can pull the spout out of the faucet head for washing larger pots, cleaning vegetables or performing other cooking functions. A pull down kitchen faucet brings a contemporary style into your kitchen and modernizes your kitchen sink.
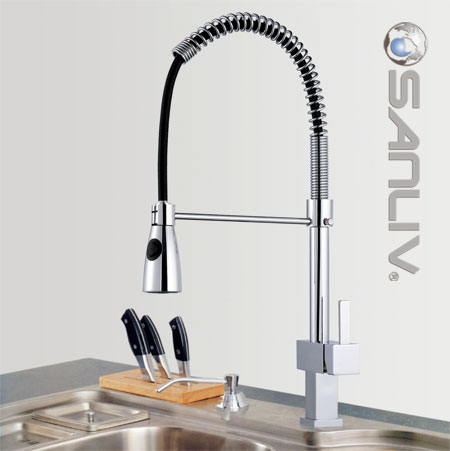
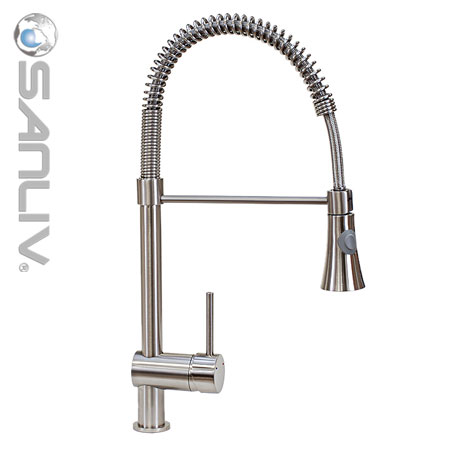
A pull out kitchen faucet can be elaborate or a basic pull out sprayer. It can come in combinations of two faucets (one on top of the other) or a single faucet that is designed to let you pull out the sprayer. Select the type that best fits your needs.
Considerations
Before you purchase a pull down kitchen faucet, consider whether your current sink is designed for one. Most sinks have 3 or 4 holes in them for different types of faucets.
Make sure plug holes are available for unused openings. Single tub basin sinks are considered better choices that double sinks for this type faucet.
Materials Needed
- Faucet
- Screwdriver
- Adjustable wrench
- Plumber’s tape
- Caulking
Step One – Remove Old Faucet
Before you remove the old faucet, turn off the hot and cold water supply and loosen the compression fittings with an adjustable wrench. Test the faucet to see if the water is off.
Drain off any excess water in pipes. If water is not shut off, you will need to shut of the main water supply. Catch excess water in a small bucket or bowl.
Step Two – Assemble the New Faucet
The faucet may need some assembly before you install it. Connect the supply lines to the sprayer head. Thread the assembly through the faucet hose on the sink. Use the set screw to attach the temperature control handle to the faucet. The set screw is located on the control handle.
Step Three – Seal Faucet
Once the faucet is assembled, place it onto the sink basin. Making sure everything fits, then apply plumber’s putty to the bottom of the faucet for a water tight seal. Make sure there are no gaps and that the entire surface is sealed.
Step Four – Attach Faucet to Sink
From under the sink, slide the housing unit up to the sink. This unit is usually a plastic, or metal, ring. Slide the large nut onto it, and tighten it with a basin wrench until it is snug.
Step Five – Connect Water Supply Lines
Using an adjustable wrench, connect the water supply lines to their respective valves. They are usually marked but, if not, then you will need to use some trial and error. Once they are connected, tighten compression fittings onto the valve until tight.
Step Six – Install Hose Weight
Most pull out kitchen faucets have a weight that will pull the faucet back in and limit the amount of hose that will extend. Decide where you want the weight on the hose and screw it onto the hose.
Step Seven – Test Water
Once the faucet is installed, run the water and test the flow. Flush out the aerator screen to see if the pressure is adequate. If not, then adjust the hoses and check for debris in the lines.


