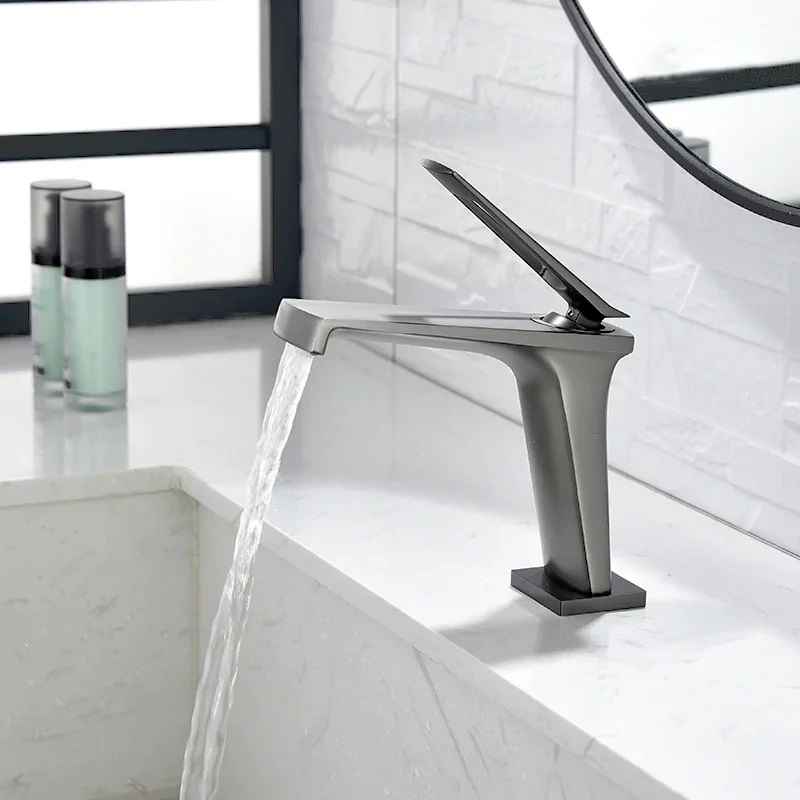
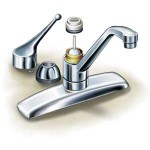
Como substituir e instalar uma torneira de banheiro de alça única? Mudar uma torneira de pia de banheiro é semelhante a consertar uma torneira de pia de cozinha. A principal diferença é que a montagem da torneira da pia inclui um conjunto pop-up que permite ao usuário abrir e fechar o ralo. There are a lot of new styles of Single Handle Bathroom Sink Faucets from global manufacturers today. Think well if you decide to replace a new one before start.

Materiais e Ferramentas:
- chave inglesa de bacia
- Phillips- e chaves de fenda de cabeça chata
- alicate de junta deslizante
- alicate ajustável
- chave de boca ajustável
- Pasta de teflon (ou fita de teflon)
- calafetar banheiro e calafetar arma (ou massa de encanador)
- new supply tubes
IMPORTANTE: Leia isso antes de começar
- Introduction:
Ao substituir uma torneira velha, geralmente há três coisas a considerar: quantos buracos sua pia tem, quão distantes eles estão, e se você precisará ou não substituir o dreno. - A maioria das pias de banheiro geralmente vem com três configurações diferentes de furos. A configuração mais popular é de dois orifícios com dezoito centímetros de distância no centro com um orifício central entre eles (três buracos no total). Outra configuração semelhante são dois orifícios com 20 centímetros de distância no centro, com um orifício central entre eles (frequentemente chamado de configuração de conjunto de propagação). Finalmente, pode haver apenas um único buraco, que é uma configuração comum para pias e torneiras mais recentes.
- Você precisará comprar uma torneira que corresponda ao seu padrão de furo específico. Não é recomendado que você tente fazer furos em sua pia ou tente fazer um conjunto de propagação caber em um 4 configuração de polegadas. Uma exceção a esta regra, Contudo, pode ser feito para algumas torneiras de furo único que são projetadas com uma base ampla que cobrirá os furos extras em uma configuração de 4 polegadas.
- Usualmente, é uma boa ideia substituir o ralo ao substituir a torneira. Tipicamente, as torneiras do banheiro são vendidas com ralos, mas você também pode obtê-las com apenas um plugue. Se você substituir o dreno, considere comprar uma nova armadilha e arremate também. É muito mais fácil trabalhar com tubos novos do que velhos e o custo não é proibitivo.
Step by Step Instructions:
Degrau 1: Remove the P-trap
- Turn off the water at the shutoff valves underneath the sink.
- Loosen the collar nuts on the curved section of the drain pipe called the P-trap. Place a bucket underneath to catch any excess water, then remove the P-trap.
Degrau 2: Free the Pop-up Assembly
- Use slip-joint pliers to loosen the nut holding the pop-up assembly in place under the sink.
- From overhead, unscrew the pop-up flange to free the assembly underneath the sink.
Degrau 3: Remove the Supply Tubes and Mounting Nuts
- With the pop-up assembly out of the way, use a wrench to loosen and remove the fittings that join the old faucet’s supply lines to the shutoff valves.
- Using a basin wrench, reach behind the sink bowl and loosen and remove the supply tubes and the mounting nuts holding the faucet in place. Lift the old faucet off the sink. Use a rag or an abrasive pad to clean any residue left from underneath the old faucet.
- You may want to use flexible connectors to replace the rigid tubes connecting the faucet to the shutoff valves. Se então, connect them to the new faucet. Don’t over-tighten.
Degrau 4: Place the New Bathroom Sink Faucet
- Drop the new faucet in place, feeding the supply lines through the holes in the sink and making sure that the faucet’s gasket seats properly.
- Secure the faucet from underneath the sink with mounting nuts.
- Connect the bottoms of the flexible connectors to the hot- and cold-water shutoffs. Tighten all connections.
Degrau 5: Install the Pop-up Assembly
- With the faucet in place, begin installing the pop-up assembly. Push the pop-up rod down through the faucet body, and attach the flat bar.
- Add a little plumber’s putty to the bottom of the new flange, and hold the tailpiece so that the whole assembly protrudes up through the drain hole in the sink. Spin the ring to position it with the tailpiece underneath the sink.
- Working underneath the sink, tighten the nut on top of the tailpiece to secure the pop-up housing in place.
Degrau 6: Finish Bathroom Faucet Installation
- Hook the pop-up lever onto the flat bar and secure it to the pop-up housing.
- From overhead, drop the stopper into the drain hole. Work the pop-up rod to make sure the stopper works properly.
- Replace the P-trap and tighten the collar nuts.
- Turn on the water supply and check for leaks.
This the six easy steps to install a single lever bathroom sink faucet. If you have better way for bathroom faucet replacement or installation, please do not forget to share with us!


