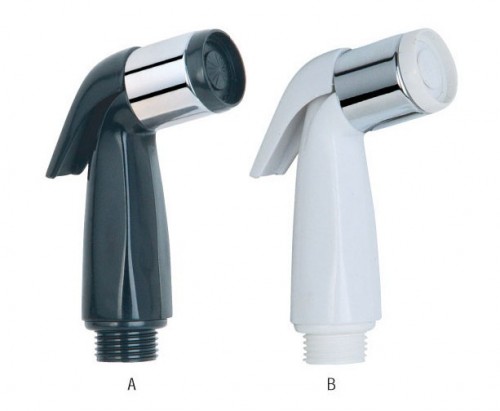
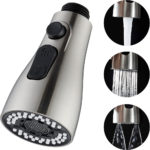
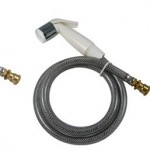
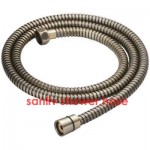
Falamos sobre como instalar a mangueira do pulverizador da pia da cozinha e o pulverizador manual no artigo anterior. Mas como reparar ou substituir um pulverizador e mangueira de torneira? Remover e consertar um pulverizador de torneira é simples se você seguir cuidadosamente algumas etapas.

Primeiro, se uma mangueira vazar ou bloquear a água, retire-o para possível substituição, começando na cabeça de pulverização. Unscrew the head from its coupling, then free the coupling from the hose by prying off a retaining snap ring with the tip of a screwdriver or penknife.
Replace the hose washer if necessary, and try to clear a blocked hose by running water through it at full blast (with the spray head removed, opening a faucet will send water to the hose rather than the sink spout). If the hose still leaks or is permanently obstructed, then keep reading for the next step.
Only a single hex nut secures the hose to its attachment at the base of the spout, but this nut is often hard to get at. If you cannot unscrew it with an ordinary wrench or a pair of locking pliers, use a basin wrench, a plumber’s tool especially designed for working in close quarters. Lie on your back under the sink as you unscrew the nut, and illuminate the work area with a work light or a flashlight.
To work on the faucet diverter valve, you first must get into the spout itself. In some sinks the spout is secured by a grooved ring, in others by a nut atop the spout. These chrome-plated fasteners are easily scarred; remove them carefully with a tape-wrapped wrench or pliers.
Inside the faucet body you can now see the tip of the diverter valve, usually capped by a brass screw. The screw is an integral part of the valve: turn it just enough to free the valve from the valve seat inside the faucet body, then pull out the screw and valve together. A valve without a screw top can simply be pulled straight out with pliers.


