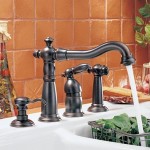
Learn how to fix a Moen kitchen faucet that is leaking. Whether the kitchen faucet is leaking at the handle or not, just shutting off the solution is the same, replace the cartridge. As a bonus, this also works with many bathroom faucets too.
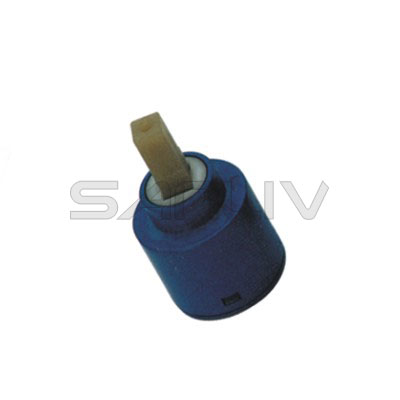
Moen faucets use a “cartridge” instead of “old fashioned” washers. This means that all the “working parts” are rolled into one simple cartridge. So if the faucet won’t shut off, or is leaking around the handle, the first thing to check is the cartridge. That is the most common type of Moen kitchen faucet repair.
There are a couple of things you want to do when replacing a cartridge.
最初, make sure the water is turned off to the faucet. You can usually turn the water off right under the sink in the cabinet. After you’ve turned the valves off just try the faucet to make sure it’s off, otherwise you might find yourself in a scene from a sitcom…with water hitting the ceiling.
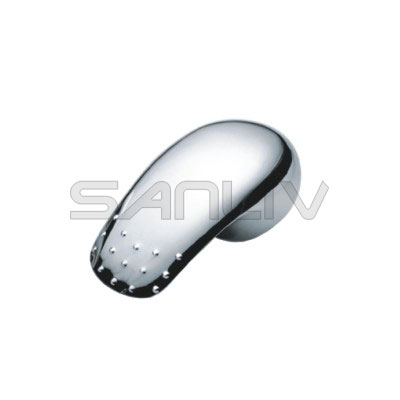
Then just start taking the handle off, paying attention to how everything is put together. When you get everything removed down to the cartridge, remove the little horseshoe shaped clip and pull the cartridge out. You may have to use a little force if it has any age on it. Actually, all new cartridges come with a little plastic tool that can help remove the old one. Just use the tool to spin the cartridge in the brass valve body so it will be easier to pull out.
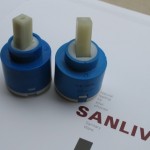
The one thing to watch out for when installing the new cartridge is to make sure you install it with the little notch on the end of the stem in the same direction as the old one. When you see the cartridge this will make sense. This will make sure that the hot and cold are not reversed. If you aren’t sure what I mean don’t worry, once you get the water back on you can fix it easily if it’s reversed.
When you get the new cartridge pushed in place, make sure the little tabs on top are lined up so the horseshoe clip will go back in place. This is very important because that little clip is all that keeps the faucet from becoming a fountain.
今, with the cartridge and clip in place, but before you put everything else back together, turn the water back on. Pull the brass stem in the center up to open the faucet and then twist to go from cold to hot. Visualize which way the stem will need to turn once the handle is installed to get hot water and make sure it’s correct. If not, turn the center stem 180 degrees and that should fix it. Just as a reference, from center most kitchen faucets will turn 90 degrees clockwise to get hot water.
Now that you’ve checked out the hot and cold directions and fixed it if needed, put everything else back in the order it came off. Make sure it all works when you’re finished and, if so, give yourself a pat on the back. You now know how to fix a leaky faucet.