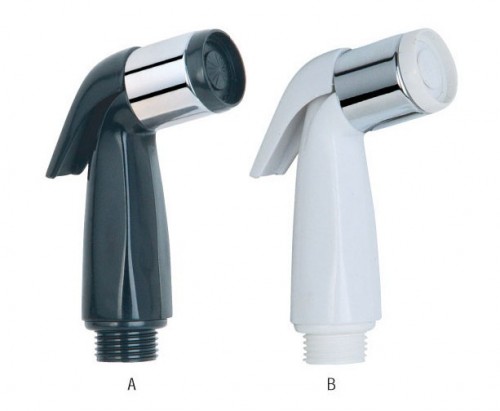
How to Repair and Replace a Kitchen Sink Faucet Sprayer? Tips for Repairing and Replacing a Kitchen Sink Faucet Sprayer. Following these tips, you can repair and replace your own kitchen sink faucet side spray very easy by changing kitchen sink faucet spray head and hose.
The kitchen faucet spray is the sprayer head that sits to the side of the faucet or is found inside the faucet head and can be removed for spraying distances further away than the faucet itself will reach. The kitchen faucet spray is attached to a hose and is equipped with a spray button for control of the water. Occasionally, it will need to be repaired or replaced.
Six easy way to Repair and Replace a Kitchen Faucet Side Spray

- Crawl underneath the sink with flashlight in hand and turn off both the hot and cold-water valves by turning them both clockwise. Because some water will be trapped in the lines, turn the faucet on and let it run out. The faucet will knock about and make a few odd noises as air is pushed through the line. Turn the faucet back off.
- Cover the cap that sits directly behind where the water spout connects to the faucet with a rag to protect the fixture, as you unscrew it with the adjustable wrench or channel locks. Set the cap to the side and place the rag down in the drain to prevent small parts from falling into the drain if they are dropped. You have now exposed the diverter.
- Remove the diverter by unscrewing it using a flat head screw driver or a coin. Place the screwdriver or coin into the notches on the top of the diverter. Pull the diverter out after loosening it. A rubber gasket should come out attached to the diverter; if it is not attached, you will have to use the flashlight and pliers to pull the gasket out of the hole the diverter just came out of.
- Place the diverter in a bowl of bleach and hot water. You should use three parts hot water to one part bleach. Allow the diverter to soak until you can stand to put your hands in the water, and then scrub down the tiny cracks of the diverter with the toothbrush.
- Wrap plumber’s tape around the screw threads on the converter, and then screw it back into place, again using the coin or flat head screwdriver. Replace the cap to its location behind the waterspout. Remove the rag from the drain and wipe away any water that may have escaped while you were repairing the diverter.
- Turn the water valves back on and test the kitchen sprayer. If the sprayer still does not work, you may need to replace the sprayer.
How to Replace the Kitchen Sink Faucet Sprayer?
 Sometimes replacing the entire sprayer may be the easiest way to solve sprayer problems.
- Shut off the water supply to the sink. Unscrew the sprayer hose from the faucet sprayer nipple and drain the water into a bucket. Unscrew the mounting nut that holds the sprayer base in place. Remove the entire assembly.
- Install the new sprayer, following the manufacturer’s instructions. Turn the water supply to the sink back on and test the sprayer. If the new sprayer does not work, you may need to check the diverter valve in the faucet.
Replacing a Kitchen Faucet End Sprayer
- Unscrew the sprayer from the hose. Screw the new sprayer to the hose and you are ready to go.
- If the hose is damaged, unscrew the sprayer from the hose and the hose from the faucet nipple. Remove the old hose and connect the new hose.
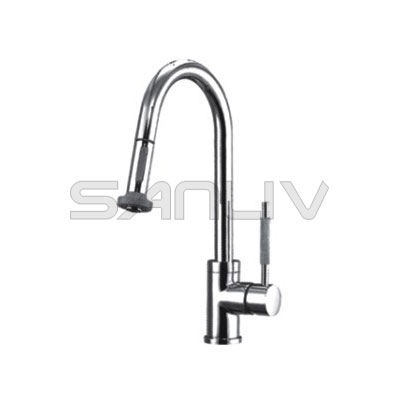
You are welcome to select new Chrome Pullout Spray Kitchen Sink Faucet at China Sanliv Online Product Catalog. New design, reliable high quality and competitive prices guarantee!


