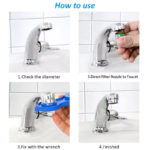
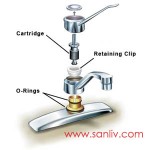
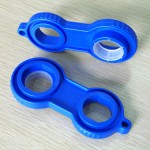
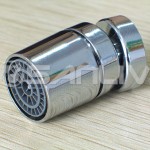
How to Clean and Repair a Sink Faucet Spray Nozel? When it’s time to clean or repair a sink faucet spray nozzle, be very careful since there is an array of small parts involved. Unscrew the aerator from the end of the spout with tape-wrapped pliers. Disassemble the parts inside the aerator body and set them aside in the correct order and orientation: a part reassembled upside down will keep the aerator from working.
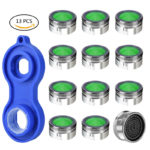
Whatever its design, your aerator will contain a plastic or rubber washer, a disk perforated by tiny holes or a sawtooth edge, and one or more screens. A more complex model may also have a disposable adapter for internal and external spout threads, and air-intake holes in the outer shell.
Clean the screens with a small stiff brush; use the brush and a toothpick to clean out disk and intake holes. Replace badly worn or misshapen washers, and flush out all parts by holding them upside down in a full stream of water before reassembling the aerator.
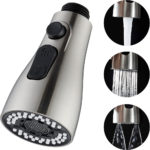
On some models you can unscrew the tip of a spray nozzle by hand. More often it is secured by a Phillips screw and the screw may be concealed by a cover. Pop the cover out with a screwdriver of penknife, remove the retaining screw and disassemble the internal parts.
Clean or replace these parts as you would those of an aerator; before reassembling them, run water through the spray head at full force for a minute or two. Do not try to repair the mechanism inside the spray head. If defective, this sealed unit should be replaced by an identical model from the manufacturer.


