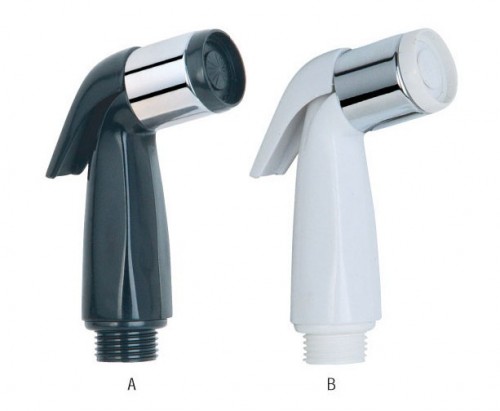
Does anyone have a good way to clean a plastic handled kitchen sink sprayer? A kitchen sink sprayer doesn’t take long to get dirty, you can’t seem to get the sprayer head on your kitchen sink clean. How to Clean a Sprayer Head on a Kitchen Sink? How to Clean a Kitchen Sink Sprayer?
These questions are frequently asked by our customers. Though it can be a frustrating experience when the trusted kitchen sink sprayer suddenly stops working, you may find it is easily solved by cleaning it. Even if it does work, it’s still prudent to know how to clean your sprayer to keep it in good working order.
Tools and Materials Needed:
- Old toothbrush or nail brush
- Cup or small bowl
- White vinegar or lemon juice
- Wrench
- Kitchen paper
ステップ 1: Dismantle
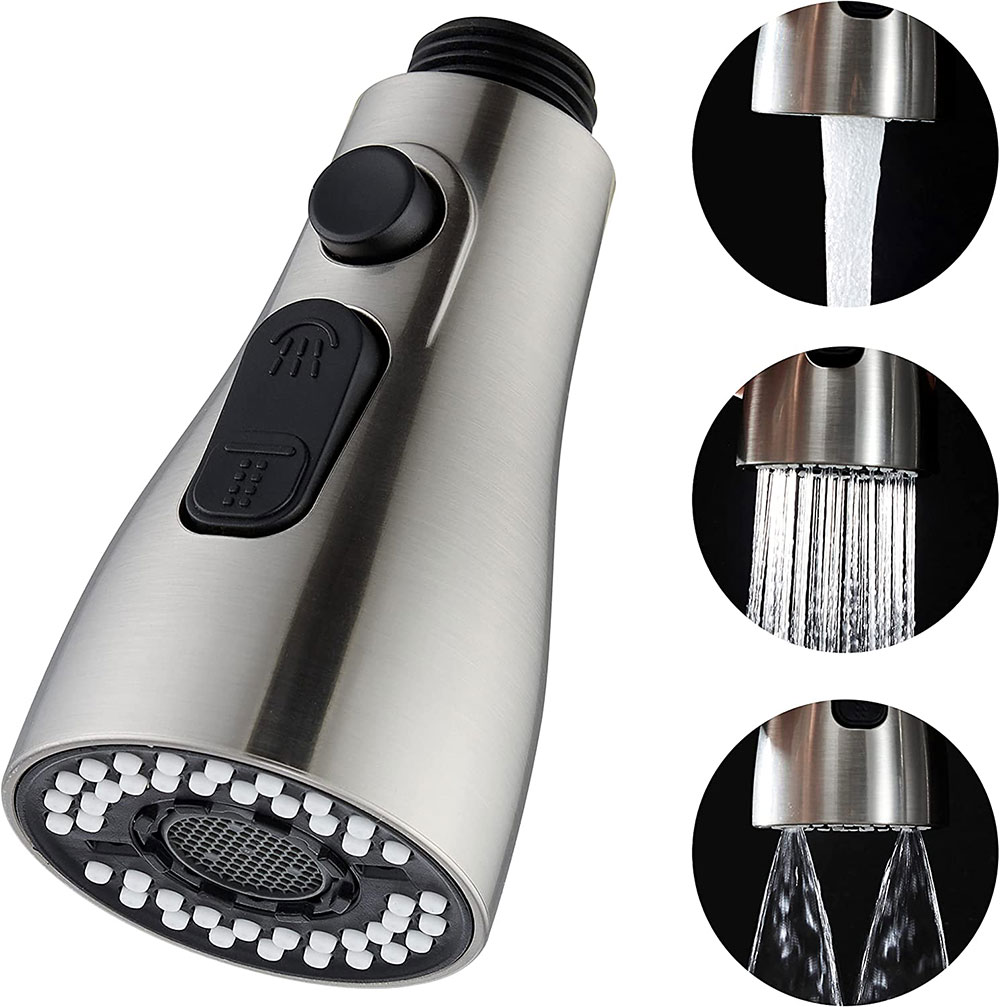
There are many points within a kitchen sink sprayer where mineral deposits and debris can build up, so take it apart to gain full access. Use a wrench to unscrew the base of the hose from where it joins the sink. It should be possible to remove the spray head by hand to access the aerator.
ステップ 2: Soak and Scrub
Remove the diverter from its sink recess and soak it in the cleaning solvent that you’re using, along with the aerator. For stubborn deposits, use a stiff bristle brush to scrub the components. This method can also be used on the threads of the nuts.
ステップ 3: Reassemble
After rinsing the components in clean water and drying with kitchen paper, return them to their original position and your kitchen sink sprayer is ready to use.

