How to Fix a Leaky Ceramic Disk Faucet? DIY Tips on Fixing a Leaky Ceramic Disk Faucet. Fixing a Leaky Ceramic Disk Faucet is what you can do by yourself, take the tips as below:
Remove the Cap and Handle Housing
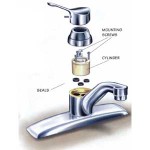
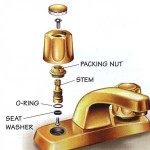
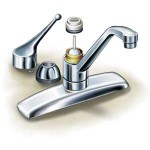
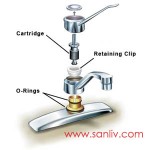
Before proceeding be certain the water to the faucet is shut off at the valve underneath the sink. Using a small knife or screwdriver, carefully pry of the trim cap off the top of the handle. 次, use a screwdriver or hex key to remove the screw so you can lift of the handle housing. You should now be able to remove the ceramic disk.
Inspect the Disk and Replace Seals
Carefully inspect the disk for cracks or other damage. If you find any problems replace the disk.
If the disk does not need replacing you will want to replace the seals. You will find them at the bottom of the disk. Remove the seals and be certain to replace them with seals of the same size.
Before inserting new seals, wipe the seal seats with an abrasive pad to remove any build up. Apply petroleum jelly to the new seals before inserting them into the disk.
Remove Air From the Line
After you have the faucet reassembled, slowly open the shutoff valve to remove air from the line. Let the water run freely before turning off the faucet. Turning on the water too quickly will force air through the ceramic disk and possibly crack it.


