Tips for Replace Kitchen and Bath Faucet Cartridge. How to Replace Kitchen Faucet Cartridge? No matter if you have a modern up to date faucet or a real old fixture, fixing a drip is something anyone can do themselves.
Kitchen faucets come in many styles and types. There are rotary ball, disk and cartridge faucets. When your kitchen faucet starts to wear out or becomes damaged, you don’t have to call a professional plumber. You can learn to replace a kitchen faucet cartridge in a few simple steps.
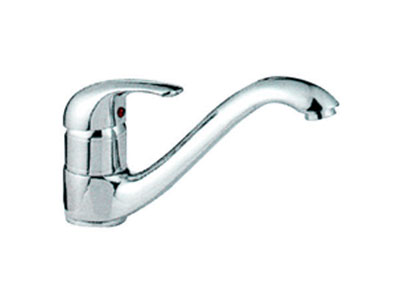
Replace Kitchen Faucet Cartridge Steps
1. Turn off the water valve that supplies the water to the faucet you are working on. If you can turn the water off directly under the faucet or behind the wall, this is better than shutting the water off to the entire house. With today’s modern single lever faucets, make sure you shut off both the hot and cold water no matter which side you’re working on.
2. Remove the handle by taking off the small cover in the middle and unscrewing the screw that holds the handle on. Gently pull off the handle – you may have to rap on it to loosen it.
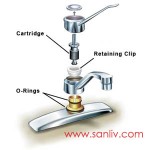
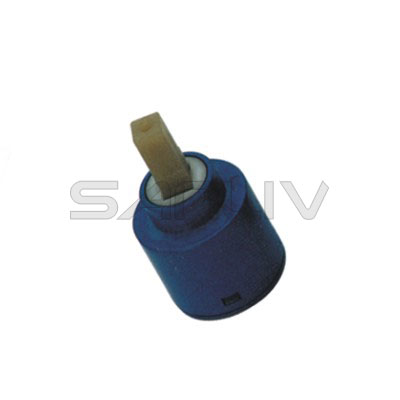
3. Loosen the bonnet nut with a large wrench, and pull the stem or cartridge out of the fixture. You should be able to gently pull the piece out, or twist it out.
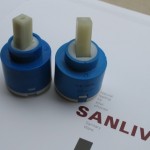
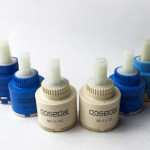
4. Bring the whole assembly to the hardware store, and have them give you the parts that need replacing. Depending on the type of faucet you have (there are several different kinds) you’ll need to replace either the cartridge, the washer, or the rubber or brass seat at the bottom of the fixture.
5. Reverse the process to reassemble, and gently turn the water supply back on to test.
Replace Kitchen Faucet Cartridge Tips
* This is not a repair that needs a lot of force to get things apart or put back together.
* Lay pieces out in a line as you take them off – that makes reversing the procedure easier.
* There are many different types of faucets and fixtures. In caso di dubbio, always bring the parts or a good quality photo of the parts to the store with you.
* Some kinds of cartridge faucets require a special tool to remove the fixture – be sure you have that tool – using anything else may destroy the fixture.
Warnings:
* Make sure the water is off before you start and everything is secure when you are done before turning water back on.
* Don’t scratch or ruin the handles, covers etc. Don’t use too much force.
* If you have to remove an O-ring, always pry it gently off in one piece – don’t cut or tear it.

