How to repair or replace a leaky cartridge faucet. DIY tips on repairing a leaky cartridge faucet. Replacing a leaky cartridge faucet is easy, simply follow Sanliv faucet repair tips.
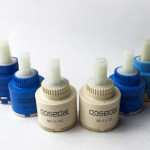
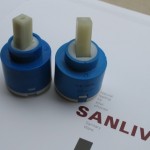
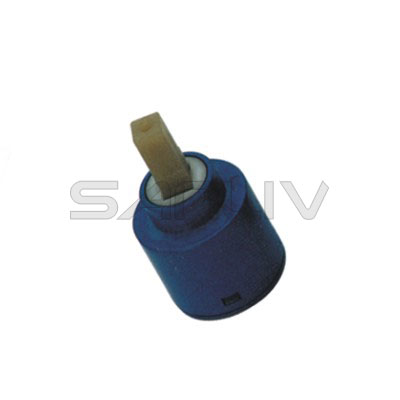
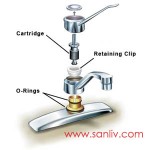
The great thing about modern cartridge faucets is that drips and leaks can often be stopped by simply replacing the cartridge. This is much less challenging to the non-plumber than the old-fashioned stem type valves. The first step is to remove the old cartridge. Here’s how it is done:
- Turn off the water at the water-supply valve under the sink, behind an access panel or at the main shut-off in the basement (usually.) As with any faucet repair, you will have to open the faucets to let the water in the supply lines drain out.
- Take off the faucet handle. It is probably screwed on. You’ll find the screw by popping off the decorative cap on the handle. Pull the handle off. If it doesn’t cooperate immediately, swear at it. No, that’s wrong. Work it back and forth and pull at it some more. If that doesn’t work, try to pry it off (gently) using the shaft of the screwdriver. Whatever you do, be careful not to break the handle.
- Once you get the handle off, check around the cartridge to see if there is a lock nut or ring holding the cartridge in place. If there is, you’ll need to take a pair of pliers and get it off. If there is not nut or ring, take the pliers and gently pull the cartridge from its hole.

