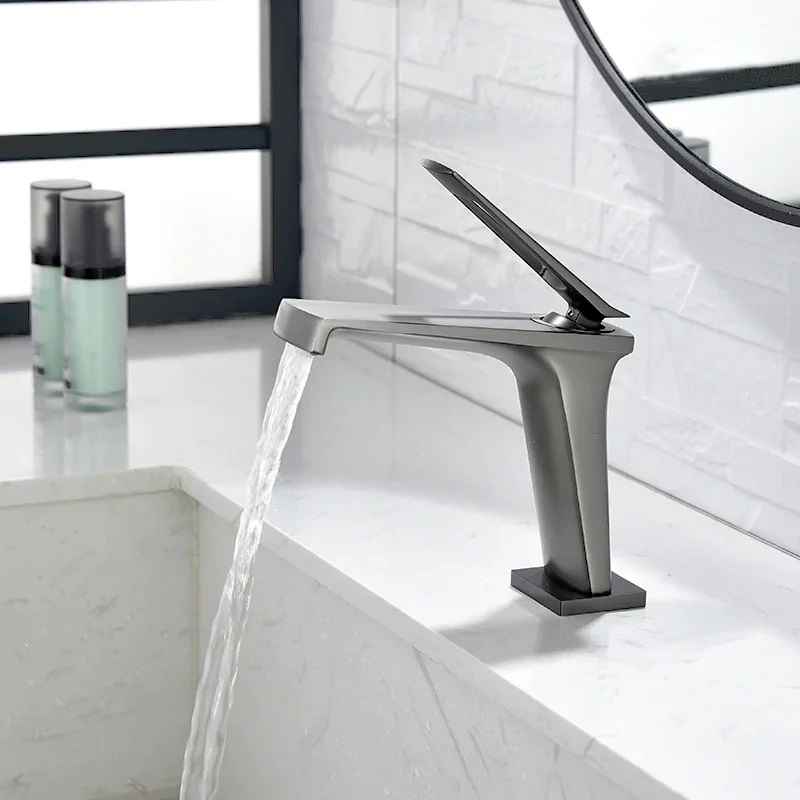
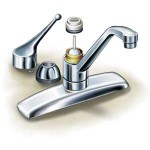
Come sostituire e installare un rubinetto del bagno a manico? Cambiare un rubinetto del bidone del bagno è simile per correggere un rubinetto del lavello da cucina. La differenza principale è che l'assemblaggio per un rubinetto del lavaggio del gabinetto include un gruppo pop-up che consente all'utente di aprire e chiudere lo scarico. There are a lot of new styles of Single Handle Bathroom Sink Faucets from global manufacturers today. Think well if you decide to replace a new one before start.

Materials and Tools:
- basin cock wrench
- Phillips- and flat-head screwdrivers
- slip-joint pliers
- adjustable pliers
- chiave regolabile
- Teflon paste (or Teflon tape)
- bathroom caulk and caulk gun (or plumber’s putty)
- new supply tubes
IMPORTANT: Read this before you start
- Introduction:
When replacing an old faucet there are generally three things to consider: how many holes your sink has, how far apart they are, and whether or not you will need to replace the drain. - Most bathroom sinks usually come with three different hole configurations. The most popular configuration is two holes four inches apart on center with a center hole between them (three holes total). Another similar configuration is two holes eight inches apart on center with a center hole between them (often called a spread set configuration). Finalmente, there might be just a single hole, which is a common configuration for newer sinks and faucets.
- You will need to purchase a faucet that matches your particular hole pattern. It is not recommended that you try drilling holes in your sink or try to make a spread set fit in a 4 inch configuration. One exception to this rule, però, can be made for some single hole faucets that are designed with a wide base that will cover the extra holes in a 4-inch configuration.
- Usually, it is a good idea to replace the drain when replacing the faucet. Tipicamente, bathroom faucets are sold with pop-up drains but you can also get them with just a plug. If you do replace the drain, consider buying a new trap and tailpiece as well. It is much easier to work with new pipes than old and the cost is not prohibitive.
Step by Step Instructions:
Passo 1: Remove the P-trap
- Turn off the water at the shutoff valves underneath the sink.
- Loosen the collar nuts on the curved section of the drain pipe called the P-trap. Place a bucket underneath to catch any excess water, then remove the P-trap.
Passo 2: Free the Pop-up Assembly
- Use slip-joint pliers to loosen the nut holding the pop-up assembly in place under the sink.
- From overhead, unscrew the pop-up flange to free the assembly underneath the sink.
Passo 3: Remove the Supply Tubes and Mounting Nuts
- With the pop-up assembly out of the way, use a wrench to loosen and remove the fittings that join the old faucet’s supply lines to the shutoff valves.
- Using a basin wrench, reach behind the sink bowl and loosen and remove the supply tubes and the mounting nuts holding the faucet in place. Sollevare il vecchio rubinetto fuori dal lavandino. Use a rag or an abrasive pad to clean any residue left from underneath the old faucet.
- You may want to use flexible connectors to replace the rigid tubes connecting the faucet to the shutoff valves. In tal caso, connect them to the new faucet. Don’t over-tighten.
Passo 4: Place the New Bathroom Sink Faucet
- Drop the new faucet in place, feeding the supply lines through the holes in the sink and making sure that the faucet’s gasket seats properly.
- Secure the faucet from underneath the sink with mounting nuts.
- Connect the bottoms of the flexible connectors to the hot- and cold-water shutoffs. Tighten all connections.
Passo 5: Install the Pop-up Assembly
- With the faucet in place, begin installing the pop-up assembly. Push the pop-up rod down through the faucet body, and attach the flat bar.
- Add a little plumber’s putty to the bottom of the new flange, and hold the tailpiece so that the whole assembly protrudes up through the drain hole in the sink. Spin the ring to position it with the tailpiece underneath the sink.
- Working underneath the sink, tighten the nut on top of the tailpiece to secure the pop-up housing in place.
Passo 6: Finish Bathroom Faucet Installation
- Hook the pop-up lever onto the flat bar and secure it to the pop-up housing.
- From overhead, drop the stopper into the drain hole. Work the pop-up rod to make sure the stopper works properly.
- Replace the P-trap and tighten the collar nuts.
- Turn on the water supply and check for leaks.
This the six easy steps to install a single lever bathroom sink faucet. If you have better way for bathroom faucet replacement or installation, please do not forget to share with us!


