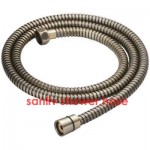
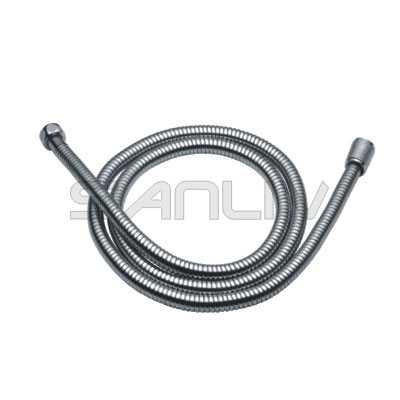
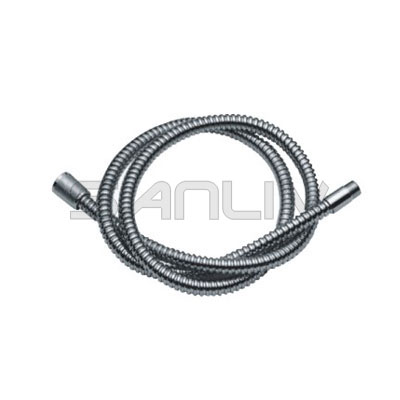
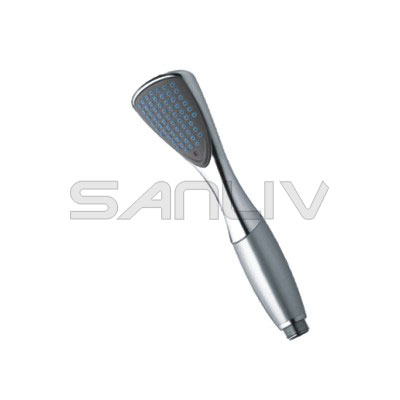
How to change or replace a shower hose by yourself? The shower hose is the part that connects the shower faucet to the shower head. This allows the user freedom of movement with the shower head to reach even the hardest places to wash. Since shower hose is constantly in motion and bending back and forth, it is also prone to the most wear and tear, which sometimes results in a leak. In that case, you should change your shower hose as soon as possible.

1. Ensure that the lever for the shower faucet is set to the off position. You don’t want to get a face full of water. Tape it down in place to help prevent it being turned on accidentally.
2. Use the pliers to loosen the coupling that holds shower hose to the shower head. If you are concerned about scratching the metal, wrap the pliers with duct tape or place a rag around the coupling. Remove the shower head once the coupling is loose.
3. Repeat the process in Step 2 for the other end of shower hose attached to the shower faucet body. Set the hose aside.
4. Clean off any remnants of Teflon tape or joint compound around the threads of the shower head and the faucet body. Use the steel wool to rub the pipe ends in the direction of the threads. This will help ensure a good connection. Wrap the threads on both the head and the faucet body with fresh Teflon tape. Trim off any excess.
5. Connect one end of the new shower hose to the faucet body. Tighten it by hand at first, then an additional turn with the pliers. Do the same thing for the connection at the shower head.
6. Remove the tape from the faucet handle. Turn on the shower and check for leaks. Tighten any couplings if necessary.

