How to Repair and Replace a Kitchen Sink Sprayer Head? If you have a sprayer on your kitchen sink, you know how handy they are. If your sprayer is not working properly, you’re definitely aware of how handy they are, and you’re probably very annoyed that yours isn’t working anymore!

Sediment Build Up
When your sprayer is clogged, it is simple to repair. All you have to do is buy CLR or a similar product that removes build up. This is a pretty strong chemical, so it’s a good idea to wear gloves when you work with it. Dilute it according to the directions, using hot water. It’s a good idea to use a small glass instead of a plastic or metal container. Simply soak your sprayer head (still attached) in the solution for the recommended time, rinse it with hot water, then spray. It should be good as new!
Broken Sprayer Head
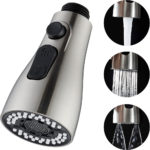
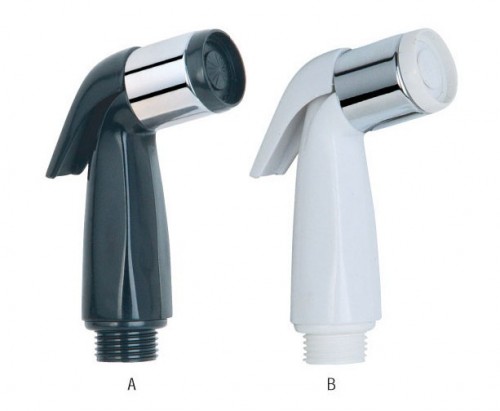
You might find it difficult or impossible to push the lever on your sprayer head. It might even be broken and constantly pushed down. If it’s getting harder and harder to push (or you have to find the “magic” place to push to get it to work), it will eventually break. You might as well save yourself the inconvenience and replace it now.
Home improvement stores carry replacement heads and full replacement units, including the hose. If only your head is broken, that’s all you have to replace. The replacement unit will usually cost less than $10.
The whole spray head will unscrew from the plastic fixture that connects it to the hose. Take that off, and then remove the plastic gasket. The most annoying part of this project is taking off the bottom plastic fixture. There is a tiny metal ring that you have to remove. It fits very tightly, and you will probably need to break it to remove it, but your new kit will contain a new annoying metal ring. Use a butter knife to get the metal ring off.
Then it’s simple. Just take off the bottom fixture. Put the new one on, then the new metal ring (you might need to widen it just a little bit to put it on), then screw on the new head. Try out your new sprayer!
Replacing the Sprayer Head and Hose
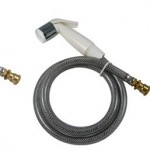
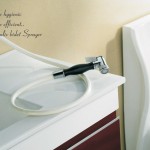
If your sprayer “screams” or whistles when you use it, you probably have a hose problem. You can either buy just a replacement hose or the whole unit, including a new sprayer head. If your sprayer is old, get the whole unit. It will save you time and trouble as the sprayer head is usually already attached.
First, turn off the water supply to the kitchen sink. You will see little faucets under the sink. One is the hot water supply and one is the cold. Turn both all the way to the right. You will see where the sprayer hose is connected to the plumbing. Disconnect it. Next, look up to the place directly under where the sprayer is located on your sink. There should be a simple nut. Loosen it so you can remove the little sleeve that surrounds the sprayer opening. Take out the old hose. Replace it with the new one by feeding it through the sleeve. In some situations, you might have to disconnect the sprayer head to fit through the sleeve (see instructions above).
Reconnect the sprayer to the plumbing, tighten the nut under the sprayer, and turn the water supply back on. Now test out your new sprayer, you do-it-yourself god or goddess!

