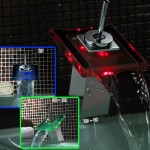
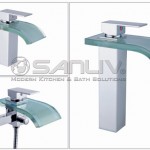
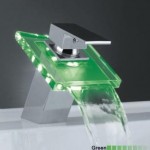
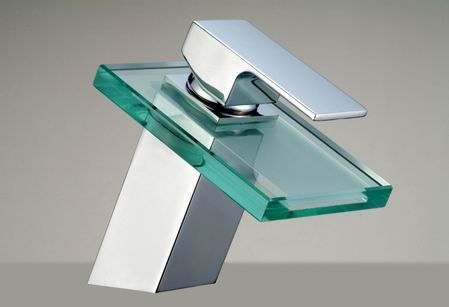
Nouvelle LED Verre Salle Cascade Conseils évier installation de la robinetterie. La conception d'un robinet cascade DEL moderne est magnifique; toutefois, this does not mean that LED Glass Waterfall Bathroom Sink Faucet is difficult to install. Whether you’re a plumbing pro or a remodel first timer, you will be able to install a waterfall faucet in no time. In order to ease the installation process, today we will provide help and assistance with “Do it yourself installation process” of your glass waterfall faucet. You’ll be amazed at what you can accomplish and more importantly you’ll be amazed at how much money you’ll save by not hiring a professional plumber!
* For this project you will be required to have a LED Glass Waterfall Bathroom Faucet faucet, a creased wrench, or a standard set of pliers.
* Please note that we have used this vanity set for demonstration purposes only.
* Please remember to turn off the hot and cold stop valves before you begin the installation process.
Your vanity ser or counter top will require to have two tapping holes. The one in the front is for your vessel sink, and the other is for the faucet. Make certain that the tapping hole for the waterfall faucet is precisely one and three eights of an inch in diameter. Now the distance from the center of your vessel sink should be exactly ten and three quarters of an inch away from the tapping hole of the faucet.
waterline is properly connected
Before you begin your installation process, check and make sure that your set contains all the necessary parts. They are the glass waterfall faucet, below which you will find two waterlines. The one on the bottom is for hot water, above it, for cold. Along the waterlines you will find a rubber washer, a brass washer, and two mounting screws.
In order to properly connect the waterlines with the faucet hold the faucet in your hand, front of the faucet facing you.
As you look at the base of the faucet, you will find two waterline holes (left for hot and right for the cold water).
Connect the waterlines accordingly.
Gently screw in the hot waterline into the left base of the faucet. Maintenant, as our hot waterline is properly connected…we now perform the same with the cold waterline.
Don’t forget not to over tighten the waterlines, as it may damage your faucet.
In order to continue with our installation process, we must now prepare our mounting hardware.
Place the rubber washer onto the brass washer.
Insert one mounting screw into the hole of the washer, holding both washers together.
fishing the waterlines through the tapping hole
Next step…we will fish the waterlines through the tapping hole.
Don’t let go of the faucet until it is safely secured.
secure the faucet with the vanity set
connecting water supply
In order to safely secure the faucet with the vanity set, or a counter, insert the mounting screw into the correspondent hole in the base of the faucet.
Now that your faucet is safely secured, you may let go of the faucet and continue the installation by screwing the second mounting screw into its correspondent hole.
Use your pliers or a creased wrench in order to tighten the screws.
As we approach the final phase of our installation connect your water supply lines hot on the left, and cold on the right. Tighten the waterlines using the creased wrench.
waterfall faucet after installation Now that we have completed our installation process, turn on the hot and cold stop valves and get read to turn on the water.
We hope we have been of help with your installation process.

