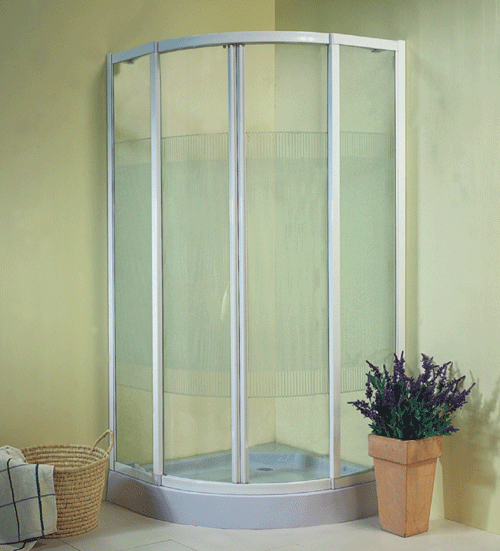
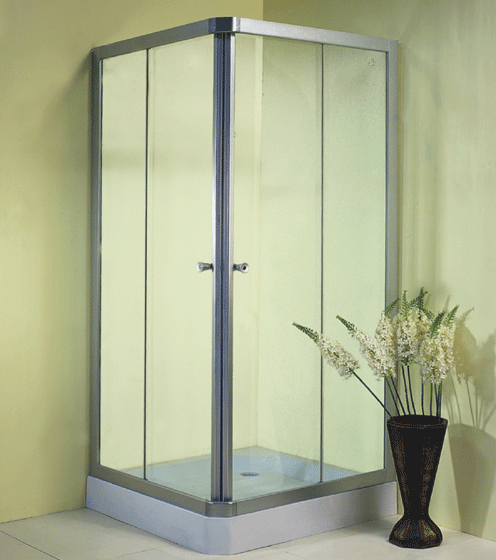
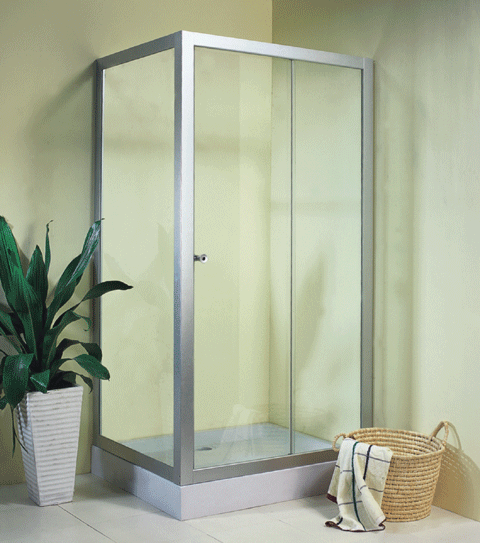
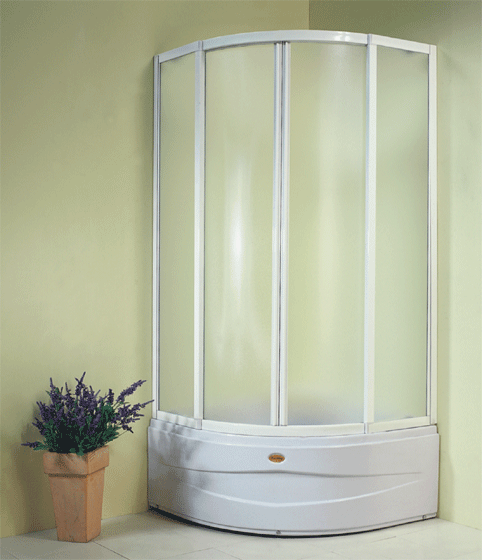
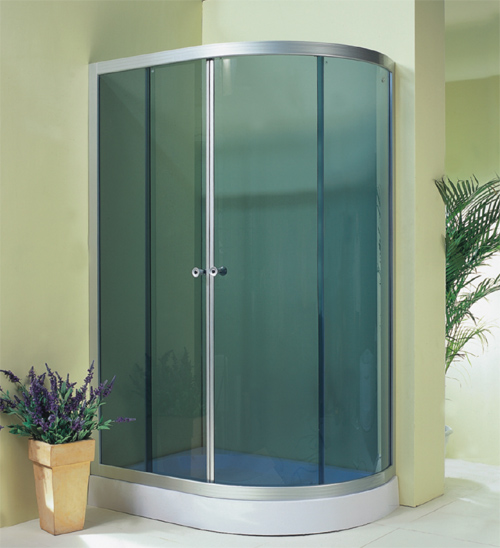
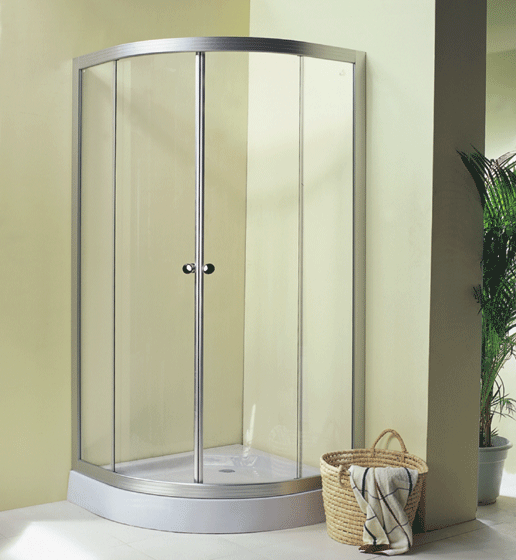
Nuevos pasos y consejos para la instalación de la cabina de ducha. Aprenda a instalar una nueva cabina de ducha y un plato de ducha para mejorar el diseño de su baño. Hay muchas razones por las que puede optar por instalar una cabina de ducha en su baño.. Es posible que esté convirtiendo un medio baño en un baño completo o buscando reducir un baño completo para crear un espacio adicional.. De cualquier manera, the simplest way to complete this home-improvement project is to install a free-standing shower enclosure. There are plenty of shower kits available, with both glass and fiberglass walls, allowing you to create just the look and feel you want.
New Shower Enclosure Installation Instructions:
- Turn off the water at the main valve before you start. Open the taps at the sink faucet in the bathroom to drain the remaining water from the lines.
- Install shower drain. Roll out a 3/4-inch-thick string of plumber’s putty, as if it were bread dough. Line the underside of the flanges (the collar-like fitting) on the shower pan with the putty. Then press the drain spud (the tubular drain insert) into the opening on the pan.
- Fasten drain together. Slide the gasket onto the drain spud from underneath and fasten the drain together by tightening the spud’s nut with a crescent wrench. Fit the spud to the P-trap (the curved drain pipe) in the floor, bonding them with PVC adhesive.
- Plaster the floor. Mix some plaster in a bucket if you are installing a fiberglass shower. Fiberglass tends to bend, so you will need to put something on the floor to provide the shower tray (floor) with some support. Pour enough plaster onto the floor of the work area to fill it to a depth of one inch, and then lay the fiberglass tray directly on top of it. Stand on the tray to press it down and form a good fit with the plaster. If you are installing a porcelain tray, skip the plaster and simply lay it in place.
- Make sure it’s level. Check the tray using a level. If you have a fiberglass tray with plaster underneath it, you can adjust the tray simply by pressing down on the corners to adjust it. A porcelain tray can be set in a level position by installing one or more of the small, adjustable legs that should be included in your shower kit. Use your judgment and experiment with leg height and placement until you have the tray set in a level position.
- Attach pipes. Fit the shower riser and valve together as directed by the manufacturer. Although most prefabricated shower kits are designed with easy screw-on pipe fittings, some kits may require you to solder the pipes together. For easy-fit pipes, coat the threads of the male fitting with plumber’s tape before screwing the pipes together. If you need to solder the pipes together, coat the outside of the male fitting and the inside of the female fitting with flux. Fit them together, light your blowtorch and hold the wire of solder against the joint. Heat the wire until the solder starts to melt and bubble. Turn off your blowtorch and then draw the solder wire around the outside of the joint in a single smooth motion.
- Connect water lines. Connect the shower valve to the water lines. Many modern water lines use tubes braided with aluminum and attached with compression nuts. If you are using braided water lines, simply place the compression nut on its mate on the valve and tighten it with a crescent wrench. Do not use tape on compression nuts. Other types of shower kits might require more soldering. You will need to cut pipes with a hacksaw and solder as described in Step 3.
- Compruebe si hay fugas. Turn the water back on and check the piping for leaks. Do this now, because the shower pipes will wind up behind a panel in your enclosure where you cannot inspect them. The most likely source for a leak is a bad soldering job, so turn the water back off and repeat the soldering process if needed. If there are no leaks, leave the water on.
- Install shower walls. Follow the manufacturer instructions when installing the shower walls. Expect a fiberglass shower to have slide-in panels that fit grooves in the floor. A shower enclosure with glass panels will likely require you to install mounting brackets into the wall. Set the panel frame into place so you can place the brackets and mark their mounting holes. Drill holes on your marks and tap 50-pound drywall anchors into them with a rubber mallet. Drive in screws to fasten the brackets and continue assembling the enclosure frame.
- Caulk the joints. Seal the joints with silicon caulking. For all free-standing showers, expect to seal up the spaces between the shower tray and the floor and adjoining walls. Some shower kits may require more.
Bathtubs and showers are among the most important fixtures in any home, and installing a new shower or tub enclosure is a great way to bring new life and beauty to even the oldest and most traditional home. A contemporary shower enclosure can do a great deal to update the look of the home, and bathroom remodeling is one of those few home improvement projects that can actually pay for itself in the increased resale value of the home.


