Replacing a Moen faucet cartridge will fix a variety of sink or shower faucet issues including dripping, leaks, or sticky operation. This is often an urgent problem, as water dripping off counters, in cabinets, or behind walls will soon cause mildew, odors, and rot. This article provides Moen cartridge replacement instructions for a common task many homeowners face. The following steps apply to both sink and shower faucets, though there are several additional considerations for showers discussed at the end.
1. Turn off the water to the faucet. Usually you will find valves under the sink for this, but if not, find the main water shut-off for the house. Main water shut-offs are usually in a basement or crawlspace. Das scheitert, water can be shut off at your well or on the street. Erinnern, if you turn off the water at the main, it is off for the entire house. You will not be able to shower, Geschirr spülen, run laundry, etc. until the job is complete.
2. Open the faucet to let excess water drain out. Confirm that the water is completely off and that there is no dripping at all. Andernfalls, you will encounter spraying water during the repair process.
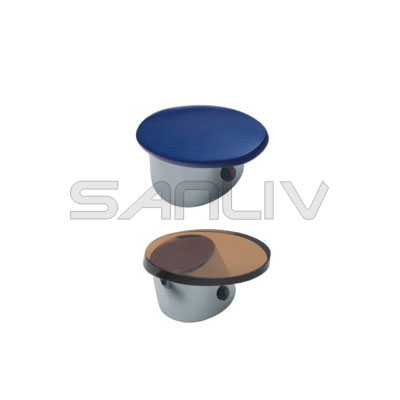
3. Disassemble the faucet. Remove the handle; this is usually fixed in place by one or two “set” screws or small Allen bolts. Dann, pull the handle up and off. Some force is required. Beneath the faucet you will typically find a dome-shaped trim piece and a cartridge nut. Remove the trim piece and use a large wrench or pair of slip-joint pliers to unscrew and remove the nut.
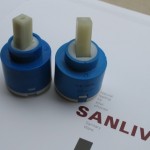
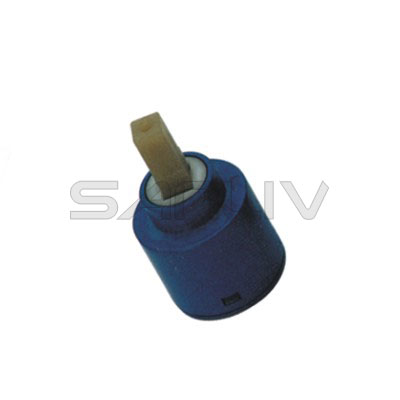
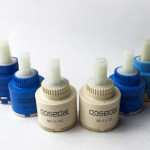
4. Extract the cartridge. Zuerst, examine the cartridge carefully. Some models need to be rotated to remove them. Try to grasp the cartridge with a pair of pliers and pull it out. If successful, you will find one, and sometimes two, O-rings, and possibly a washer or spacer at the base of the cartridge; take special care not to damage these, as they provide a seal to prevent leaks. Take a minute to clean up any minerals or gunk inside the faucet that has built up over the years, as these can cause leaks. If you are not successful removing the cartridge with regular pliers, you will likely need a Moen cartridge puller tool. Such tools are available from specialty plumbing supply stores.
5. Purchase a new cartridge. If you don’t already have a replacement cartridge, it’s a good idea to take the old one to a good plumbing retailer to ensure you get an exact replacement. The wrong cartridge will not fit in your fixture and/or will not function properly and likely will leak.
6. Re-assemble the faucet. Insert the new cartridge and replace all the parts you removed in reverse order, making sure that all the pieces are tight and secure. Pay special attention to re-seat any O-rings or washers carefully. Turn on the water slowly, and watch for leaks.
You can follow the above steps when replacing a cartridge for a shower faucet, except that you will almost always need to turn the water off for the entire home. Ebenfalls, shower fixtures are mounted vertically and built into walls, so extra care is needed, as any resulting leaks have the potential to cause serious damage inside walls. A second person is often helpful in a shower cartridge replacement; they can shut off the water quickly in the case of a leak.
Whether sink or shower, make sure you understand the process from beginning to end and that you have all the tools you will need ready before you start the project. While a professional plumber will typically arrive with the correct parts and complete the job in less than an hour, a homeowner without substantial residential plumbing experience should expect to devote most of a day to acquiring parts and completing this sort of project.


