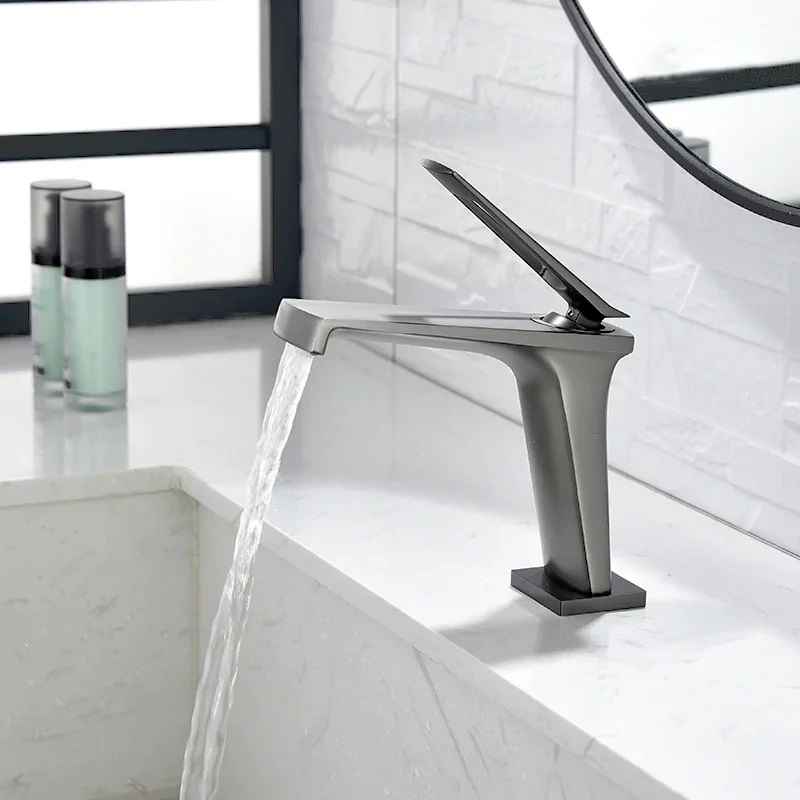
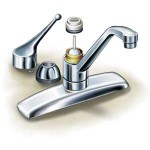
How to Replace and Install a Single Handle Bathroom Faucet? Changing a bathroom-sink faucet is similar to fix a kitchen sink faucet. The main difference is that the assembly for a lavatory-sink faucet includes a pop-up assembly that allows the user to open and close the drain. There are a lot of new styles of Single Handle Bathroom Sink Faucets from global manufacturers today. Think well if you decide to replace a new one before start.

Materialien und Werkzeuge:
- basin cock wrench
- Phillips- and flat-head screwdrivers
- slip-joint pliers
- adjustable pliers
- adjustable wrench
- Teflon paste (or Teflon tape)
- bathroom caulk and caulk gun (or plumber’s putty)
- new supply tubes
WICHTIG: Lesen Sie dies, bevor Sie beginnen
- Introduction:
Beim Ersetzen eines alten Wasserhahns sind im Allgemeinen drei Dinge zu beachten: Wie viele Löcher hat dein Waschbecken?, wie weit sie voneinander entfernt sind, und ob Sie den Abfluss ersetzen müssen oder nicht. - Die meisten Waschbecken werden normalerweise mit drei verschiedenen Lochkonfigurationen geliefert. Die beliebteste Konfiguration sind zwei Löcher in einem Abstand von vier Zoll in der Mitte mit einem Mittelloch dazwischen (Insgesamt drei Löcher). Eine andere ähnliche Konfiguration sind zwei Löcher, die in der Mitte acht Zoll voneinander entfernt sind und zwischen denen sich ein Mittelloch befindet (wird oft als Spread-Set-Konfiguration bezeichnet). Schließlich, Es könnte nur ein einziges Loch geben, Dies ist eine übliche Konfiguration für neuere Spülen und Wasserhähne.
- Sie müssen einen Wasserhahn kaufen, der Ihrem speziellen Lochmuster entspricht. Es wird nicht empfohlen, dass Sie versuchen, Löcher in Ihre Spüle zu bohren oder ein Spread-Set in eine zu passen 4 Zoll Konfiguration. Eine Ausnahme von dieser Regel, jedoch, kann für einige Einloch-Wasserhähne hergestellt werden, die mit einer breiten Basis ausgestattet sind, die die zusätzlichen Löcher in einer 4-Zoll-Konfiguration abdeckt.
- Meistens, Es ist eine gute Idee, den Abfluss beim Ersetzen des Wasserhahns auszutauschen. Typischerweise, Badarmaturen werden mit aufklappbaren Abflüssen verkauft, aber Sie können sie auch mit nur einem Stecker erhalten. Wenn Sie den Abfluss ersetzen, Erwägen Sie auch den Kauf einer neuen Falle und eines neuen Saitenhalters. Es ist viel einfacher, mit neuen Rohren als mit alten zu arbeiten, und die Kosten sind nicht unerschwinglich.
Step by Step Instructions:
Schritt 1: Remove the P-trap
- Turn off the water at the shutoff valves underneath the sink.
- Loosen the collar nuts on the curved section of the drain pipe called the P-trap. Place a bucket underneath to catch any excess water, then remove the P-trap.
Schritt 2: Free the Pop-up Assembly
- Use slip-joint pliers to loosen the nut holding the pop-up assembly in place under the sink.
- From overhead, unscrew the pop-up flange to free the assembly underneath the sink.
Schritt 3: Remove the Supply Tubes and Mounting Nuts
- With the pop-up assembly out of the way, use a wrench to loosen and remove the fittings that join the old faucet’s supply lines to the shutoff valves.
- Using a basin wrench, reach behind the sink bowl and loosen and remove the supply tubes and the mounting nuts holding the faucet in place. Lift the old faucet off the sink. Use a rag or an abrasive pad to clean any residue left from underneath the old faucet.
- You may want to use flexible connectors to replace the rigid tubes connecting the faucet to the shutoff valves. Wenn ja, connect them to the new faucet. Don’t over-tighten.
Schritt 4: Place the New Bathroom Sink Faucet
- Drop the new faucet in place, feeding the supply lines through the holes in the sink and making sure that the faucet’s gasket seats properly.
- Secure the faucet from underneath the sink with mounting nuts.
- Connect the bottoms of the flexible connectors to the hot- and cold-water shutoffs. Tighten all connections.
Schritt 5: Install the Pop-up Assembly
- With the faucet in place, begin installing the pop-up assembly. Push the pop-up rod down through the faucet body, and attach the flat bar.
- Add a little plumber’s putty to the bottom of the new flange, and hold the tailpiece so that the whole assembly protrudes up through the drain hole in the sink. Spin the ring to position it with the tailpiece underneath the sink.
- Working underneath the sink, tighten the nut on top of the tailpiece to secure the pop-up housing in place.
Schritt 6: Finish Bathroom Faucet Installation
- Hook the pop-up lever onto the flat bar and secure it to the pop-up housing.
- From overhead, drop the stopper into the drain hole. Work the pop-up rod to make sure the stopper works properly.
- Replace the P-trap and tighten the collar nuts.
- Turn on the water supply and check for leaks.
This the six easy steps to install a single lever bathroom sink faucet. If you have better way for bathroom faucet replacement or installation, please do not forget to share with us!


