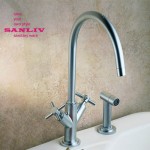
Wasserlecks beheben: Ersetzen der Dichtung und des Schlauchs des Küchenarmatur-Sprühgeräts. Wir unterhielten uns über Tipps, wie Reparatur und Ersetzen eines Küchenarmatur Sprayer vor. Let us find the easy way to Fix a Kitchen Faucet Sprayer.
Die Reparatur eines Wasserhahns ist einfach, Aber was ist mit dem Küchenarmatursprühgerät?? Wenn Sprühgeräte auslaufen, Es kann viel nerviger sein. Leaking sprayers are synonymous with messy leaks, drenched worktops and damp clothing. It’s easy to fix a kitchen faucet sprayer and doesn’t take any specialist plumbing skills. Only a minimum amount of equipment is needed and even replacing the sprayer is a faucet repair job anyone can undertake.
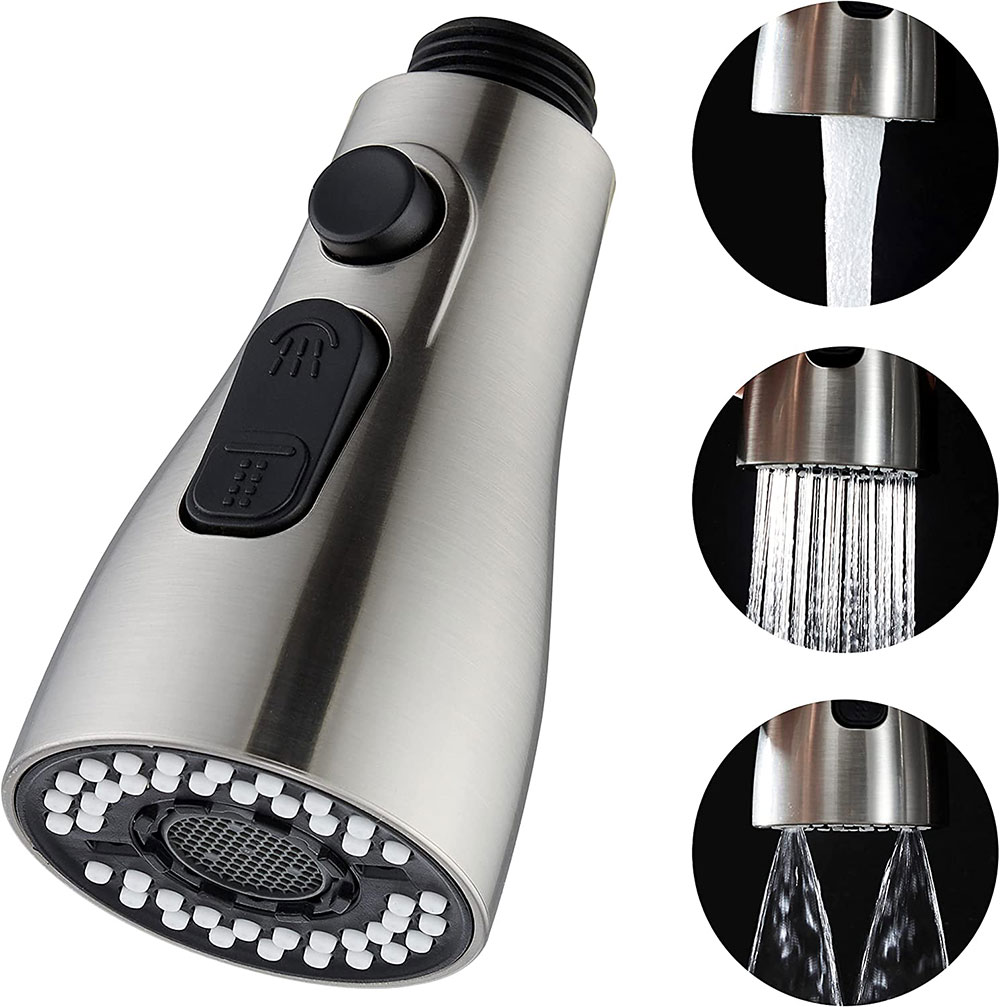
Tools and Materials:
* Sprayer gasket
* Wrench
* Teflon tape
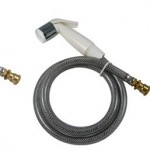
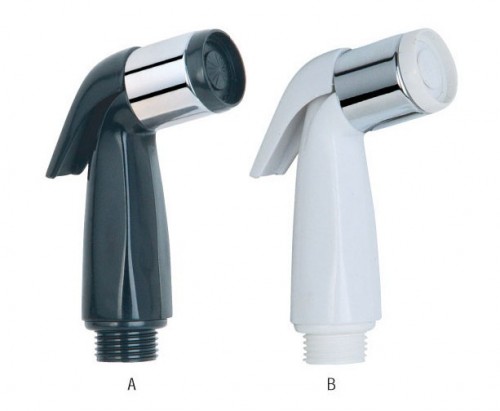
* New sprayer
Schritt 1: Replacing the Kitchen Spray Nozzle Gasket
If your leak is at the sprayer head itself, the first thing to check is the gasket in the sprayer. Start by turning off the water under the sink and running the faucet until no more water comes through. Twist the spray nozzle apart and remove the gasket. It should pop out quite easily. Take it to the hardware store and find a matching part. Fit it back into the nozzle, making sure it’s seated in the cavity well correctly. Put the spray head back on.
Turn the water back on and test the kitchen faucet sprayer. If there’s no longer a leak at the nozzle, you’ve solved the problem. If you have other problems with the spray head, jedoch, you will need to replace the entire unit.
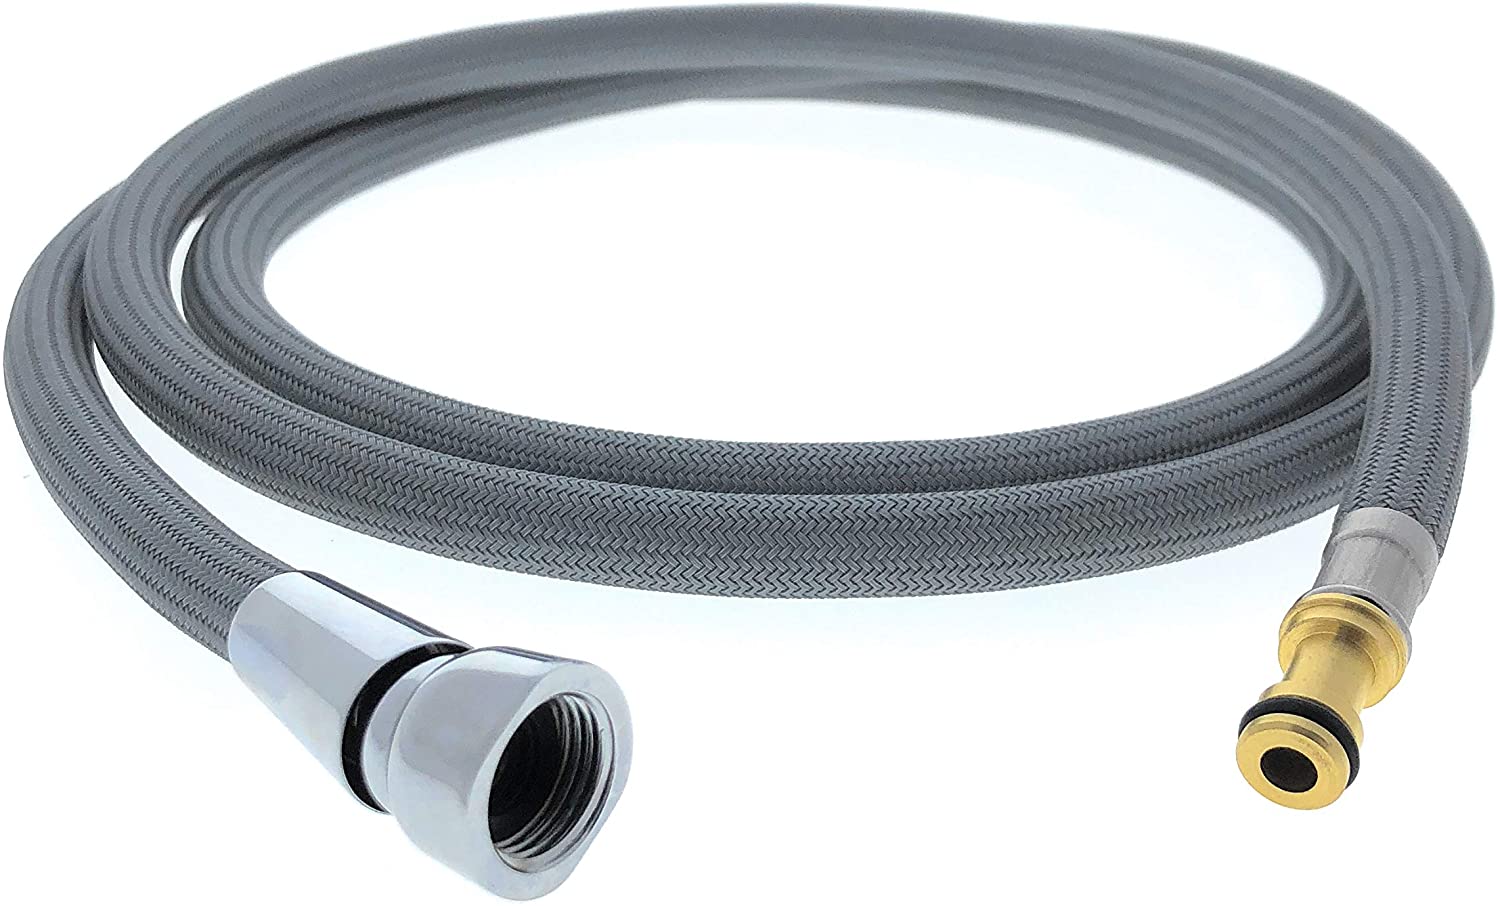
Schritt 2: Repairing the Kitchen Spray Hose
If the leak isn’t due to the gasket, the problem will be in the hose. The best faucet repair you can try is cleaning the hose at both ends in case it’s clogged. Turn off the water under the sink and run the faucet until no more water appears. Unscrew the spray head from the hose (you might need to use a wrench for this to loosen the nut). Pull the hose so it comes through to the underside of the sink. Unscrew the hose at its connection to the water pipe.
Clean both ends of the hose in water. Use Teflon tape on the connection to the water pipe and screw the hose back in. Now thread the hose through its hole in the sink. Use Teflon tape on the connector and attach the spray head. Turn the water back on and test for correct operation.
Schritt 3: Replacing the Kitchen Faucet Sprayer
If the kitchen faucet sprayer is old and leaking, the simplest solution can be to replace the entire unit with a new one. Start by turning off the water under the sink. Let the faucet run until the pipe is empty and no more water appears.
Pull out the sprayer head hose and unscrew the spray head. In some instances this will require a wrench to loosen the nut. With the head detached, you can now pull the hose through until it can be recovered from underneath the sink. Unscrew the hose from the water pipe connection to complete removal.
Take out the new hose. Apply Teflon tape to the threads on the connection and screw the hose to the water pipe, making sure the connection is sufficiently tight. Push the hose through the hole in the sink unit and wrap Teflon tape on the connector where the spray head will attach. The spray head can now be fitted. Turn the water back on and test to finish.


