Wasserhahn Installation: So installieren Sie einen Toilettenhahn
So installieren Sie einen Toilettenhahn? Tipps zur Installation des Toilettenhahns. Möchten Sie lernen, wie man einen Waschbeckenhahn oder einen Toilettenhahn installiert?? Befolgen Sie einfach die folgenden Tipps zur Installation des Sanliv-Toilettenhahns.
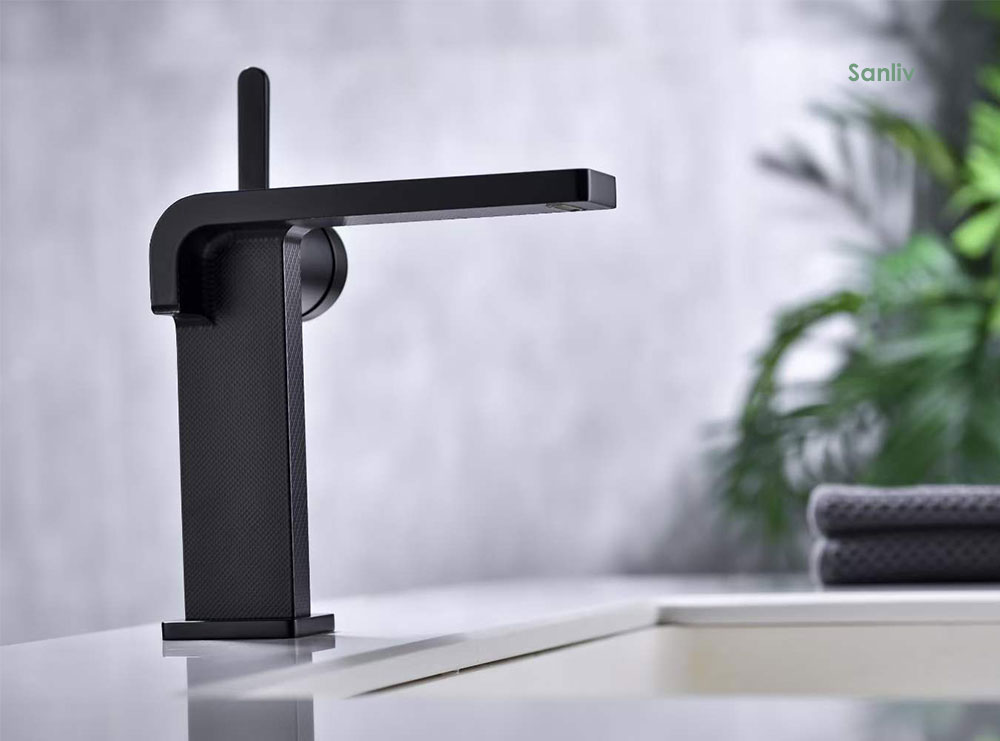
Matte Black Single Hole Lavatory Faucet
Materialien und Werkzeuge:
Alle Sanliv-Wasserhähne sind mit einem Minimum an Werkzeug einfach zu installieren.
basin cock wrench
Phillips- and flat-head screwdrivers
slip-joint pliers
adjustable pliers
adjustable wrench
Teflon paste (or Teflon tape)
bathroom caulk and caulk gun (or plumber’s putty)
Lavatory faucet installation steps will help you install your new lavatory faucet:
Shut off water supply valves and remove old faucet.
Apply plumber’s putty on bottom plate and insert in 1 1/4″ Löcher.
Secure by using mounting nuts provided.
Flush Supply Lines. This should be done prior to installation, by running water through your house supply lines into a contained source. This will clean out and resident debris.
Screw in flexible line to our 1/2″ Verbindung und das Wasser Absperrventil.
Install pop-up drain and attach to drain pipe.
Remove aerator and run water for a minute to flush debris.
Step by step, easy to use installation diagrams are included with all Sanliv faucets. All Sanliv kitchen and bathroom faucets have the Quality Warranty, which covers the finish and function of the product for life. For more information about Sanliv products, please feel free to contact us, we are happy to support.