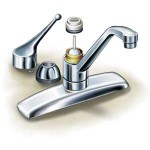
Common parts needed for plumbing faucet and fixture repair. The parts of four types of faucets and how to repair them. Kitchen Faucet or bathroom fixtures may happen an annoying leak that will need repairing. There are four different types of faucets, and depending on the type you have, each one has unique parts that you should become familiar with. The four types of faucets are (1) Compression-Type (2) Disc-Type (3) Ball-Type (4) Sleeve-Type Cartridge.
The compression-type faucet is probably the most basic type of the four faucets. The mechanics of the faucet are three parts, the retaining nut, threaded spindle, and an O-ring. Remove the index cap and the faucet handle for access to the threaded spindle and clean with a wire brush. Replace the O-ring and check washers and screws for wear; replace as needed. Reassemble the faucet and the leak should be repaired.
A disc-type faucet has two parts, the cap and the cylinder. The cylinder has three openings, and inside these three openings are three rubber seals. Remove the seals with the tip of a screwdriver. Using a scouring pad, clean the cylinder and the seals, and then rinse the cylinder and the seals in water. Put the seals back in the cylinder and reassemble the faucet. If the faucet continues to leak then replace the cylinder.
A ball-type faucet draws its name from the ball that controls the water flow. A ball-type faucet has four parts. The cap covers the cam and the cam washer, and underneath the cam washer is the ball. Repairing a ball-type is slightly more difficult than repairing a compression-type or disc-type faucet because of the extra tools needed. It is recommended you buy the repair kit for this type of faucet. Using a pair of water-pump pliers, also known as channel-locks, loosen the faucet handle setscrew and remove to allow access to the faucet cap. A special tool that comes with the faucet repair kit called a cam tool is used to remove the faucet cam. You then take out the faucet cam; the cam washer and the rotating ball, checking the ball for wear. Underneath the ball you will notice some springs and valve seats, the spout will now slip over the top of the faucet base allowing easier access. Take off the old O-rings wrapped around the base and put in the new ones. Remove the old springs and valve seats and replace with the new ones. Reassemble the faucet assembly and your leak is fixed.
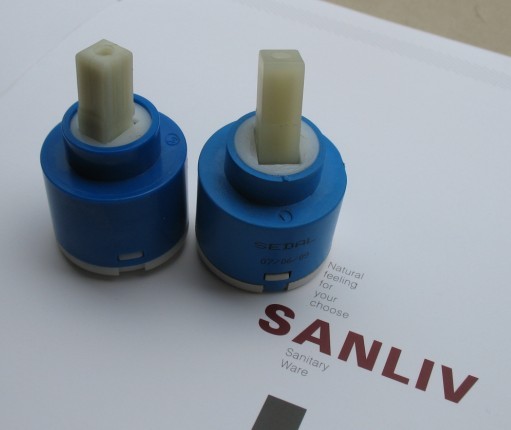
Sleeve-type faucets have three parts, the retaining ring, a cartridge, and the cartridge seal. This also a faucet that will require a repair kit for repairs. The first step is to remove the faucet handle and take off the threaded retaining ring using water-pump pliers. If there is a retaining clip in place be sure to remove that also. Take a pair of pliers and pull the cartridge up from the base. Install the replacement cartridge making sure the tab on the cartridge is facing toward you. Take off the spout, remove, and then replace any O-rings. Reassemble the faucet.
Fixing the leaking faucet takes a little knowledge, the right tools, and some patience. But doing it yourself will save you money, and give you the personal satisfaction of knowing you fixed that leaky faucet yourself, and that is not always an easy task.

