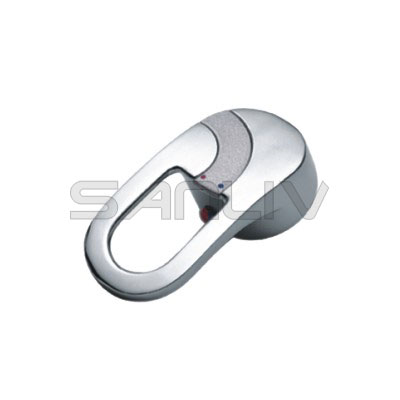
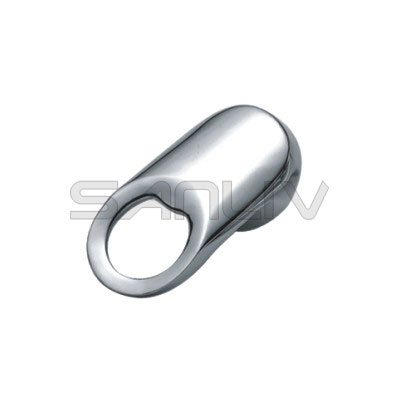
Bathroom Faucet Handle Repair Instructions: Bathroom Faucet handle problems mostly call for a replacement. Bathroom faucet handles are subject to frequent use and high level of humidity, thereby rendering them vulnerable to cracking or discoloration. This calls for a bathroom faucet handle repair job, which mostly involves replacing the faulty faucet with a new one. Follow instructions given below to help you with the same. Find out more information on plumbing.
Faucets are valves which control the release of liquids and are found in every household. Faucets are commonly installed in kitchen sinks, bath tubs and showers to help you control the water flow. The faucet handle is a part which helps you operate the faucet without having to turn the actual valve.
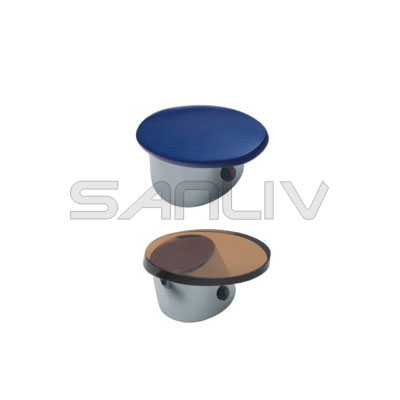
Step 1. Take out the handle’s center cover, also known as its screw cover. This cover is more like a decorative part which hides the handles retaining the screw beneath. You will have to use a flathead screwdriver and pry the cover gently, so that it pops out.
Step 2. Once you have access to the faucet handle’s retaining screw, you will have to remove it as well. The main purpose of the retaining screw is that it holds the handle onto the faucet. Use a head screwdriver and twist it in an anticlockwise direction so that it comes off.
Step 3. Gently pull the handle towards you to remove it from the faucet valve. The new handle which will be replacing the faulty one needs to the glided over the faucet’s stem.
Step 4. After the replacement handle is in place, attach the retaining screw back to its position to fix the handle on the faucet. With help of a screwdriver, tighten the retaining screw.
Step 5. Lastly, you need to fix the handle cap back onto the handle in its position. Keep the cap on the handle’s center and press it down slowly till you hear a clicking sound, which will confirm its position.


